


 Powered by Comercia.io
To tattoo a realistic portrait, plan likeness and values from the reference before choosing needles or ink. For black and grey portraits, compare curved magnums with a greywash or opaque-gray palette; for color realism, plan skin tones, shadows and highlights. StarBrite describes realism through gradual value shifts, while Peak and Kwadron explain needle options for soft blending and fine detail.
Shop Portrait Needle Options Browse Greywash Sets
QUICK ANSWER
How do you tattoo a realistic portrait in black and grey or color?
Plan the reference, value structure and stencil first. Compare curved magnums for broad skin transitions, small round shaders for tight zones, and liners or bugpins for eye, lash and hair details. Choose a greywash or color skin-tone palette, then test your layering approach on practice skin.
Reference & Stencil
Identify essential proportions, value boundaries and the likeness cues to preserve at the selected placement.
Needles & Ink
Compare curved mags, small shaders and liners; organize greys or skin tones by their roles in the portrait.
Shading & Details
Test transitions, choose a layering direction and reserve eye or lip highlights without overworking the skin.
REFERENCE & LIKENESS
How do you choose a portrait reference and plan its highlights, midtones and shadows?
Begin by deciding what must remain recognizable in the reference: the relationship between facial features, large light and dark shapes, and the edges that define the expression. StarBrite says realism depends on gradual value shifts rather than hard edges, and recommends sketching or digitally rendering highlight and shadow layers to visualize depth before tattooing.
When using a photograph of another person, consult Tattoo Copyright as a separate resource for source-image and rights questions. Do not let the needle selection begin before the artwork itself is approved.
PORTRAIT STENCIL PLAN
What should a realistic portrait tattoo stencil preserve from the reference?
Make the stencil carry the likeness information the artist will need on the skin: major placement guides, facial proportions, relevant feature boundaries and the edges of important value zones. The drawing can retain soft shading in the reference without turning every tonal transition into a hard stencil outline.
Use How to Make a Tattoo Stencil and Tattoo Stencils That Last for transfer preparation.
PORTRAIT ELEMENT TO TOOL
Which needles, inks and techniques fit eyes, skin, hair, shadows and highlights?
StarBrite describes curved magnums and round shaders for different shading areas, with fine liners for the smallest marks. Peak names bugpin needles as options for lashes, hair and skin texture. Use this table to assign a role to each tool, rather than assuming one needle count fits every portrait feature.
| Portrait element | Needle to compare | Ink choice | Technique and design check |
|---|---|---|---|
| Eyes and eyelashes | Fine liner or bugpin detail option; StarBrite mentions 01RL for the finest details | Selected dark tone; optional white catchlight | Protect the eye shape and precise accents within the larger value plan |
| Skin and transitions | Curved / soft-edge magnum; small RS for confined regions | Greywash values or a flesh-tone palette | Build gradual transitions through controlled, overlapping passes as StarBrite describes |
| Hair or animal fur | Fine liner or bugpin option for selected strands; curved mag for underlying tonal masses | Dark, midtone or color values based on the reference | Establish overall light and shadow structure before individual texture |
| Deep shadows and background | Curved magnum suited to the area; StarBrite discusses 11RM/13RM for larger zones | Dark greywash, opaque gray or planned darker color | Keep the deepest values distinguishable from midtones and background |
| Highlights in eyes and lips | Fine liner for a small accent; another grouping only where the planned area warrants it | Reserved skin highlight or selected white ink | Place catchlights and shine deliberately; follow StarBrite's restraint with white |
CURVED MAGS, SHADERS & LINERS
What tattoo needles do artists use for realistic portrait shading and fine details?
StarBrite's greywash guide suggests 07RM or 09RM curved magnums for medium shading areas, 11RM or 13RM for larger areas, 05RS or 07RS round shaders for tighter passages, and a 01RL or bugpin liner for the finest details. These are StarBrite's examples for shading tasks, not required counts for faces, pets, eyes or hair.
For the underlying terminology, see Tattoo Needle Guide and How to Choose Tattoo Cartridges.
PIN DIAMETER & TAPER
How do needle diameter, taper and grouping change the detail options for portraits?
Peak identifies standard #12 pins as approximately 0.35 mm and smaller bugpins as #10 (0.30 mm) or #8 (0.25 mm). It specifically discusses bugpins for portrait details including eyelashes, hair and skin texture. Peak also notes that thinner strokes reveal hand wobble more clearly, so finer is a precision choice rather than an automatic improvement. Check pin count, configuration and taper separately on the cartridge label.
BLACK & GREY REALISM
What inks should you choose for a black and grey portrait: greywash or opaque gray?
StarBrite describes building a deliberate value range for black-and-grey realism, with highlights, midtones and deep shadows serving different roles. In the SVT Shop catalog, Dynamic Greywash Set is listed with #20, #40, #60 and #80 washes; Dynamic Smoke Opaque Greys Set and Eternal Neutral Gray Set are separate gray-palette options. Select the system for the intended look and the maker's directions, rather than assuming the names are interchangeable.
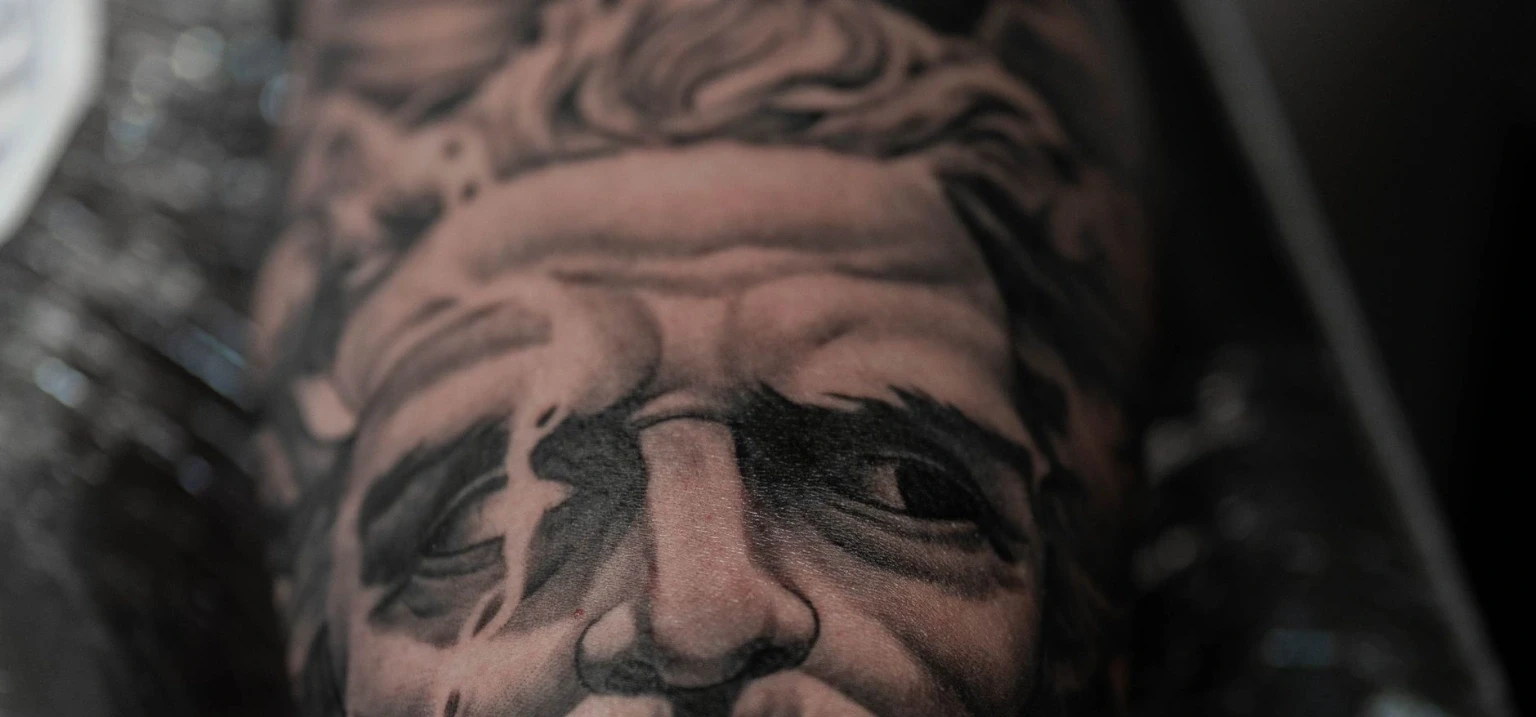
A greywash range helps an artist organize tonal levels; opaque grays are another product category to assess for the particular design. StarBrite's greywash guide gives an example of a five-value starting scale, while emphasizing that choices should be tested rather than copied as fixed instructions. For detailed differences and any manufacturer-directed mixing, use Black and Grey Tattoo Ink: Greywash vs Opaque and How to Mix and Dilute Tattoo Ink.
COLOR PORTRAIT PALETTE
How do you choose skin-tone inks and shadows for a realistic color portrait?
StarBrite recommends organizing a color-portrait palette across approximately five to seven tonal roles, from the brightest highlight to the deepest shadow. It discusses a highlight, base midtone, warm and cool midtones, and shadow values. This is the manufacturer's palette-planning framework, not a required number of pigment bottles for every portrait.
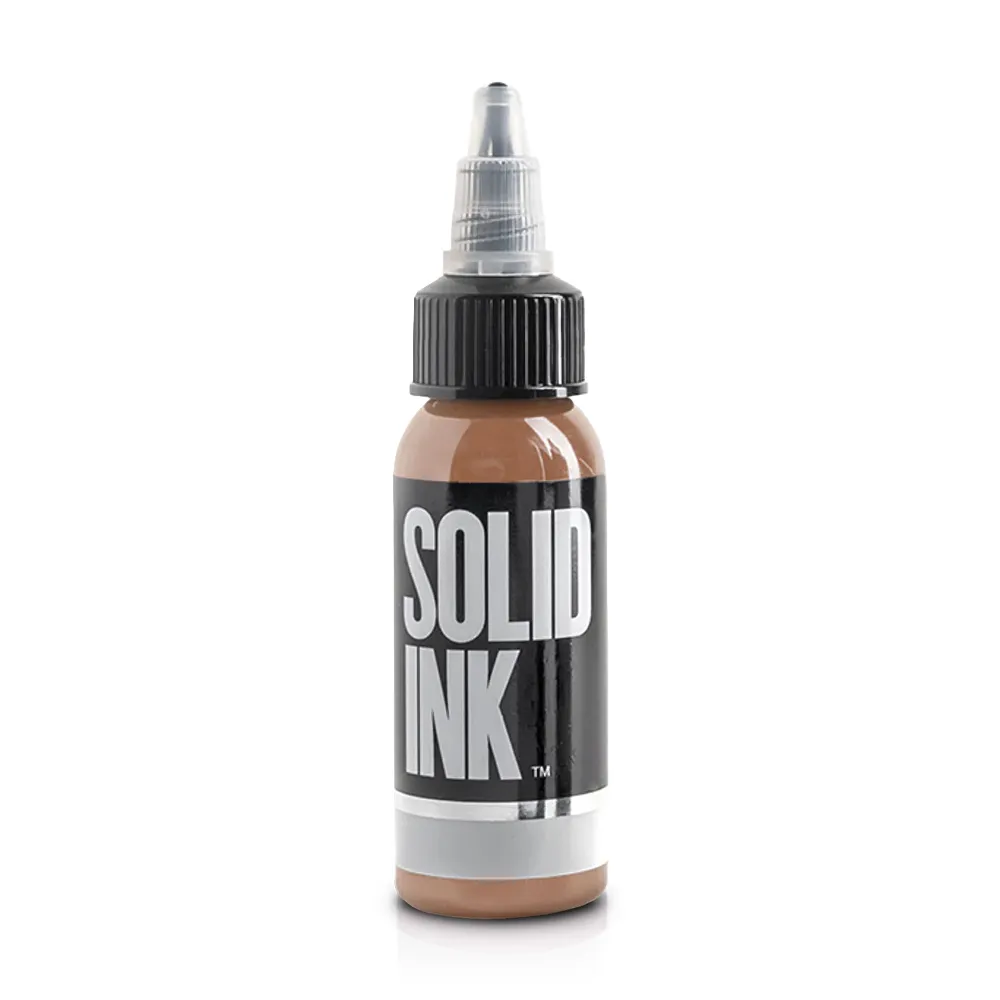
StarBrite also says shadows often shift cooler rather than simply becoming a darker version of the base skin color, citing deeper purples, grays and blue-browns. Compare that advice with the actual reference instead of automatically adding one shadow color everywhere. We carry Eternal Ink Rich Medium Flesh and Solid Ink Flesh as starting skin tones; build the rest of the palette around the reference.
For undertones and broader choices, read Skin-Tone Tattoo Ink. Practice the transition between the base and chosen shadow or highlight inks before working on the client.
CLIENT SKIN & COLOR READABILITY
How should the client's skin tone and undertone affect a color portrait plan?
StarBrite advises accounting for the Fitzpatrick category and undertone of the skin being tattooed, not only the photographed subject's complexion. It warns that ink choices suitable for one skin tone may read with the wrong warmth on another, and says even highlight tones for Fitzpatrick types V–VI tend to be darker relative to palettes planned for lighter skin. Treat this as StarBrite's color-planning advice and evaluate the actual person's skin professionally.
StarBrite recommends natural-light photographs and healed examples when evaluating darker skin tones. Keep these references alongside your palette tests.
GRADUAL FACIAL SHADING
How do you shade a realistic portrait smoothly without making the face look flat?
StarBrite describes smooth, overlapping passes with curved magnums at moderate voltage, gradually building color rather than trying to reach full saturation in a single pass. It also discusses circular or X-shaped movement in transition zones. Those are the manufacturer's general blending descriptions; the artist should test their effect with the actual machine and grouping.
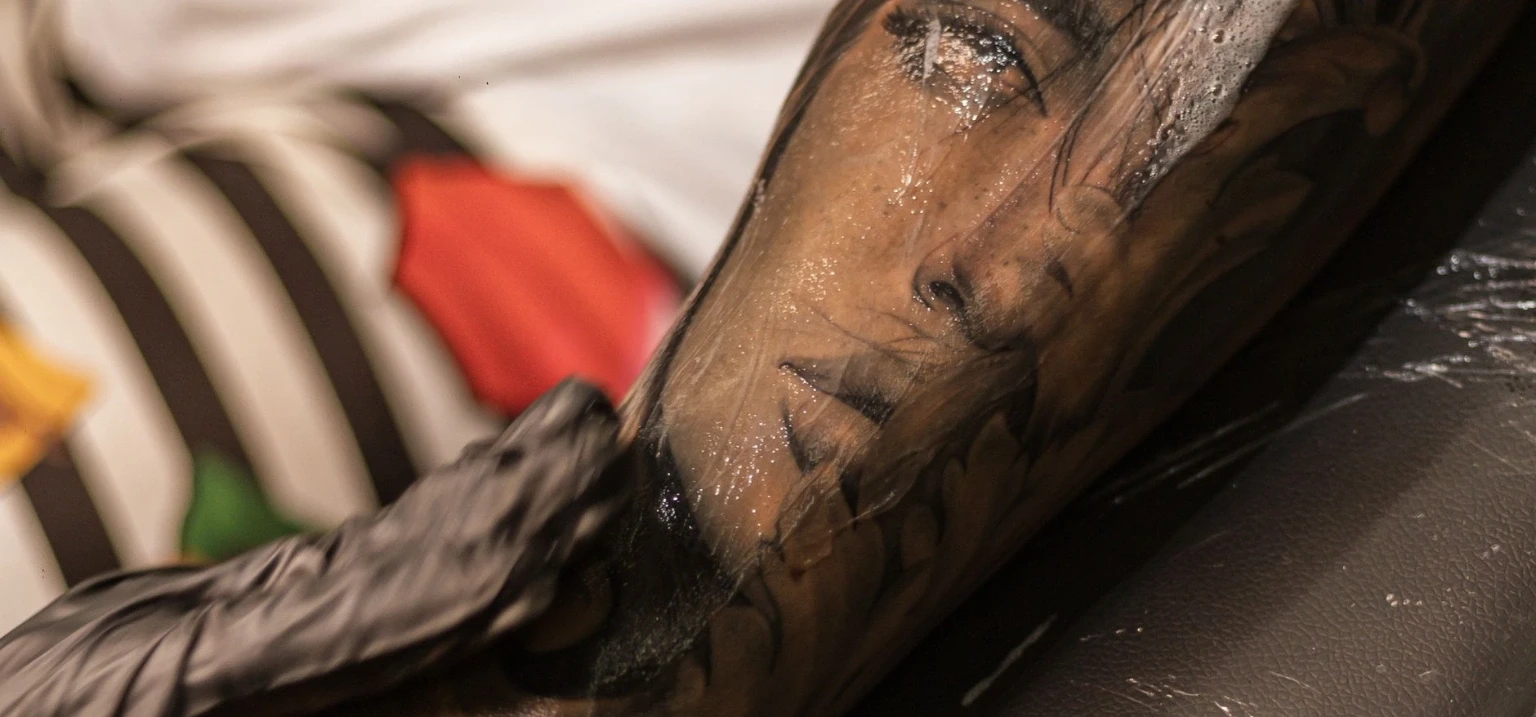
Intenze warns that overworking can pool ink in the dermis and contribute to later blur. Consult Overworked Tattoo Signs and Prevention and Tattoo Blowout: Causes and Prevention for the separate technical risks. For specific shading motions, use Whip Shading vs Pepper Shading vs Stippling.
LAYERING CHOICES
Should you tattoo a portrait from dark to light or from light to dark?
Manufacturer guidance differs. StarBrite's greywash guide discusses a dark-to-light sequence, with the lightest washes added last and with restraint. Intenze's black-and-grey realism guide describes building values in layers from light to dark. Neither approach should be presented as the only correct order for every portrait, machine or ink system.
Set up a practice-skin study of the same value design in both orders, following each manufacturer's relevant product directions. Compare the readable result and skin response instead of turning one brand's workflow into a universal rule. See Tattoo Practice Supplies for practice material selection.
EYES, HAIR & PET FUR
How do you approach realistic eyes, eyelashes, hair and pet fur with tattoo needles?
Peak specifically mentions bugpins for portraits and delicate marks such as eyelashes, hair and skin texture. StarBrite names a 01RL or bugpin liner as a possible finest-detail option and suggests larger curved magnums for broader shaded areas. Neither source assigns a required needle count to every eye, hair strand or animal feature, so use the overall value structure to decide where detail is actually needed.
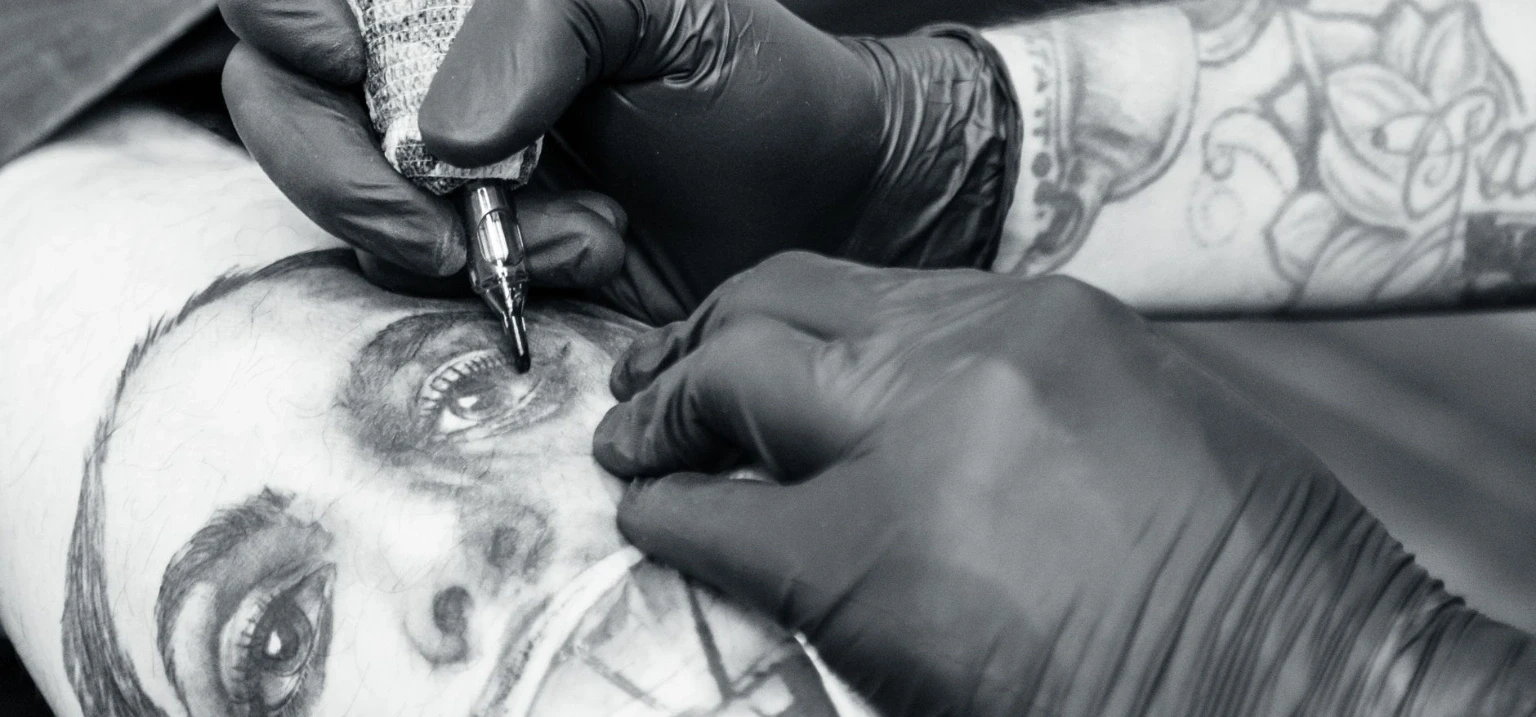
When planning a dog or other pet portrait, ask what markings make that individual animal recognizable and whether they remain legible at the intended scale. Test the combination of shaded masses and fine lines before approving the final stencil.
STROKE & MACHINE CONTROL
What stroke length and voltage should you use for realistic portrait shading?
Peak's general machine guide describes shorter strokes of 1.8–2.5 mm for soft shading and smooth blends, medium strokes of 3.0–3.5 mm for fine lines and color blending, and strokes of 4.0 mm or more for packing and bolder lines. These are Peak's task categories, not mandatory portrait settings. Peak also notes that shading usually calls for lower voltage, while StarBrite discusses moderate voltage and slightly lower voltage for washes than for solid color work.
Follow the exact machine and cartridge instructions. For more background, see Tattoo Machine Stroke, Needle Depth and Voltage.
WHITE INK & LIGHT ACCENTS
When should you use white ink for eye catchlights and lip highlights in a portrait?
StarBrite identifies eye catchlights and shine on lips as possible portrait uses for white ink, while cautioning that excessive white can overwhelm a design or fade during healing. The manufacturer also cautions against applying white over freshly applied black because it may create muddy tones or uneven healing, discussing healed black as the appropriate context for such layering.
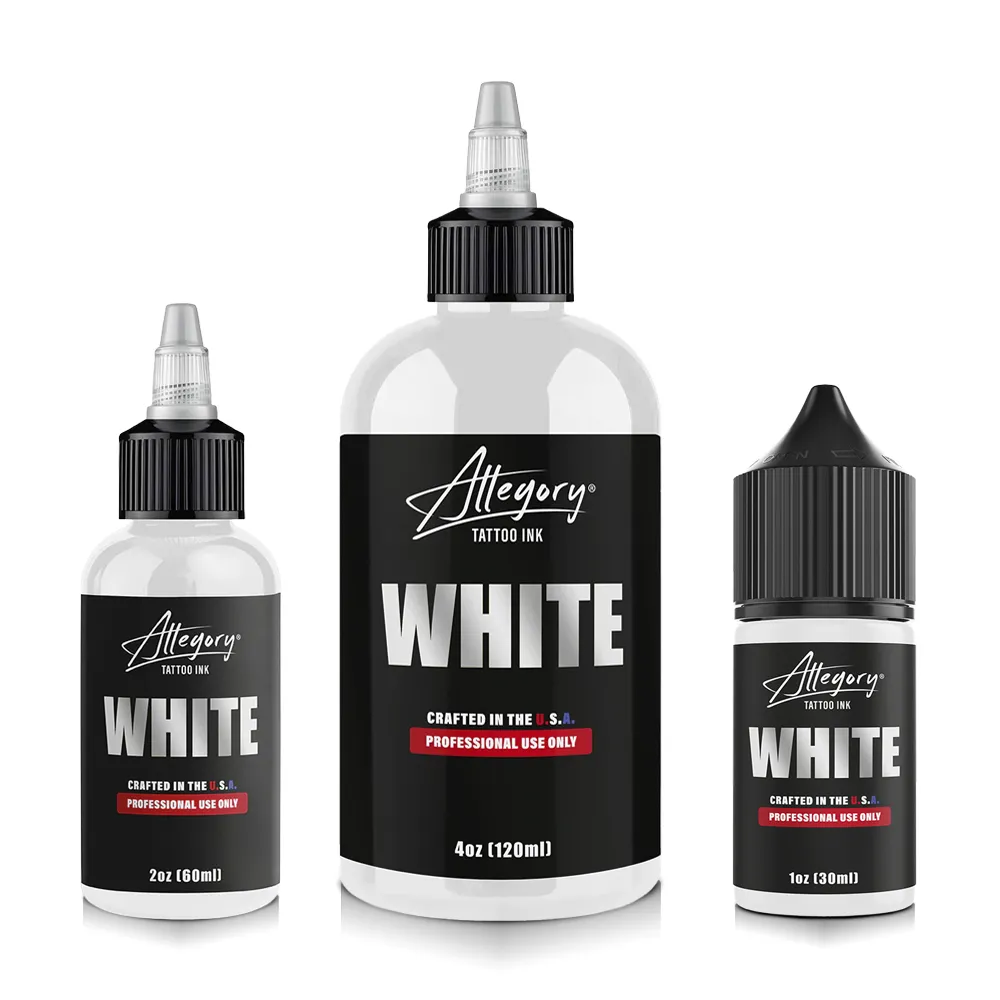
Plan those accents early. We carry Allegory White Ink; see Best White Tattoo Ink for product choices.
HEALED VALUES & LONG-TERM CARE
How should artists plan portrait values for healing and discuss fading over time?
StarBrite says the lightest greywashes may become very faint after full healing and describes artists planning some midtones and light areas slightly darker as a result. For color work, StarBrite says fresh saturated colors can look softer or more muted once healed. These are manufacturer observations, not a promise about a specific healed portrait; test the ink system and use healed examples when possible.
The American Academy of Dermatology says UV can fade some tattoo inks and recommends broad-spectrum, water-resistant SPF 30 or higher. Discuss care without promising a portrait lifespan.
COMMON PORTRAIT ERRORS
What mistakes should artists avoid when tattooing realistic human or pet portraits?
The most useful review is whether the artwork still resembles the reference once its values, details and edges are simplified into tattooable areas. Use the manufacturer guidance as a tool for testing, rather than adding detail simply because a smaller needle exists.
Choosing the needles before mapping the likeness
StarBrite emphasizes value shifts and recommends planning highlight and shadow layers before tattooing.
Making every skin area the same midtone
Compare highlight, warm and cool midtones, and shadows within the chosen StarBrite-style palette framework.
Using fine pins without checking hand control
Peak warns that thinner lines expose wobble; test lashes, hair and texture with the intended grouping.
Assuming all portraits must follow one layer order
StarBrite discusses dark to light; Intenze describes light to dark. Compare both before settling on a workflow.
Overworking areas to force immediate saturation
StarBrite describes gradual overlapping passes, while Intenze warns about pooled ink and later blurring.
Using white as a rescue for every lost highlight
StarBrite advises restraint with white and cautions about placing it over fresh black.
SVT SHOP PORTRAIT SUPPLIES
Which curved magnums, liners, greywash sets, flesh tones and white ink can you shop?
Match the needle to the portrait area and the ink to the planned values. These twelve SVT Shop listings cover curved mags, liners, grey and flesh-tone palettes, white and stencil supplies.
 Soft Skin & Shadow Transitions
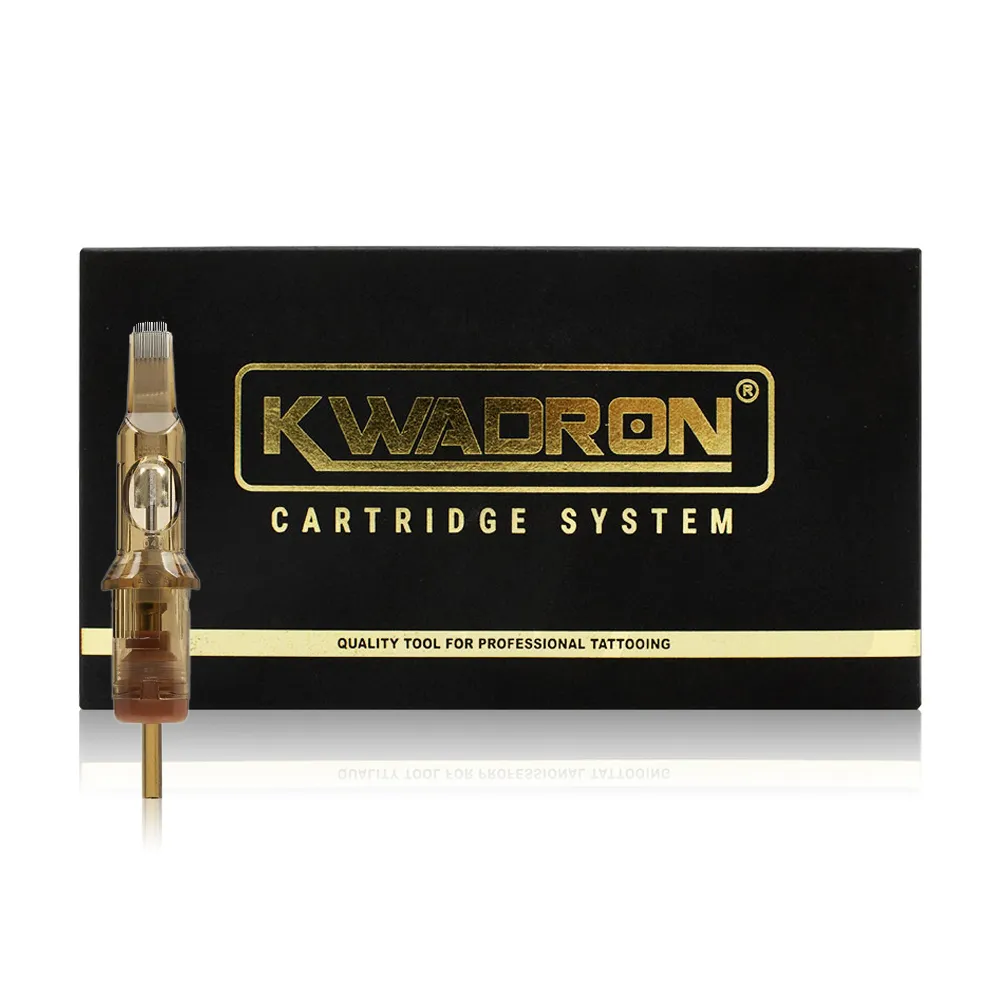
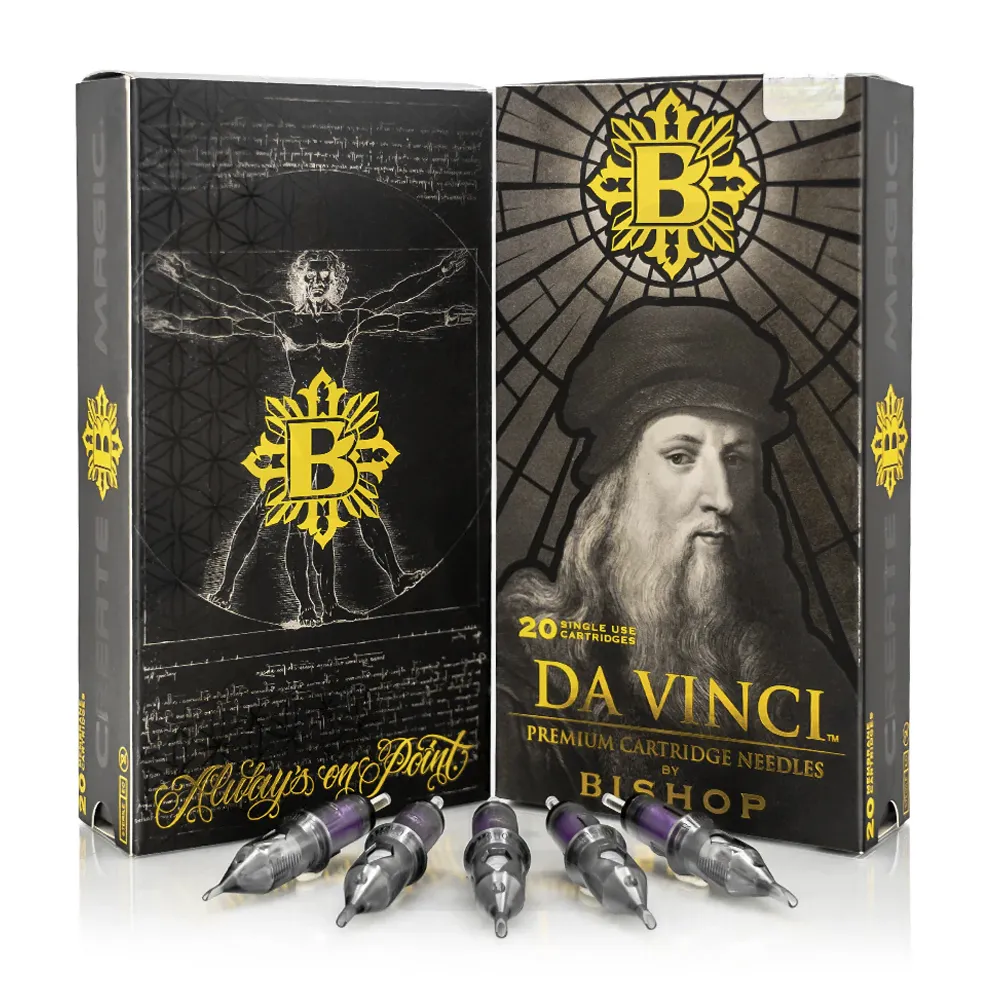
Kwadron - Cartridges Curved Mags
Curved magnums that Kwadron describes for subtle tonal transitions.
 Alternative Curved Mag
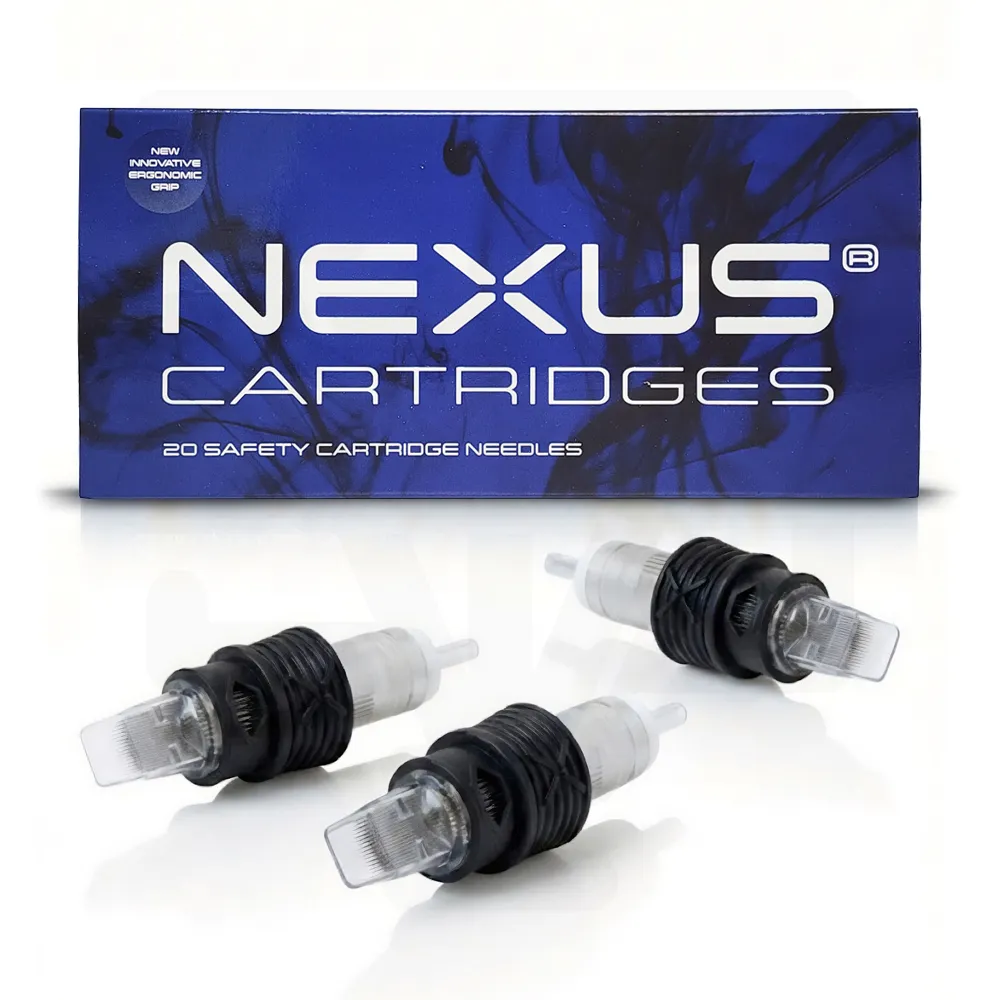
Bishop - Da Vinci V2 Curved Mags
Curved-mag option for broad portrait shading with a compatible machine.
 Portrait Blend Cartridge Option
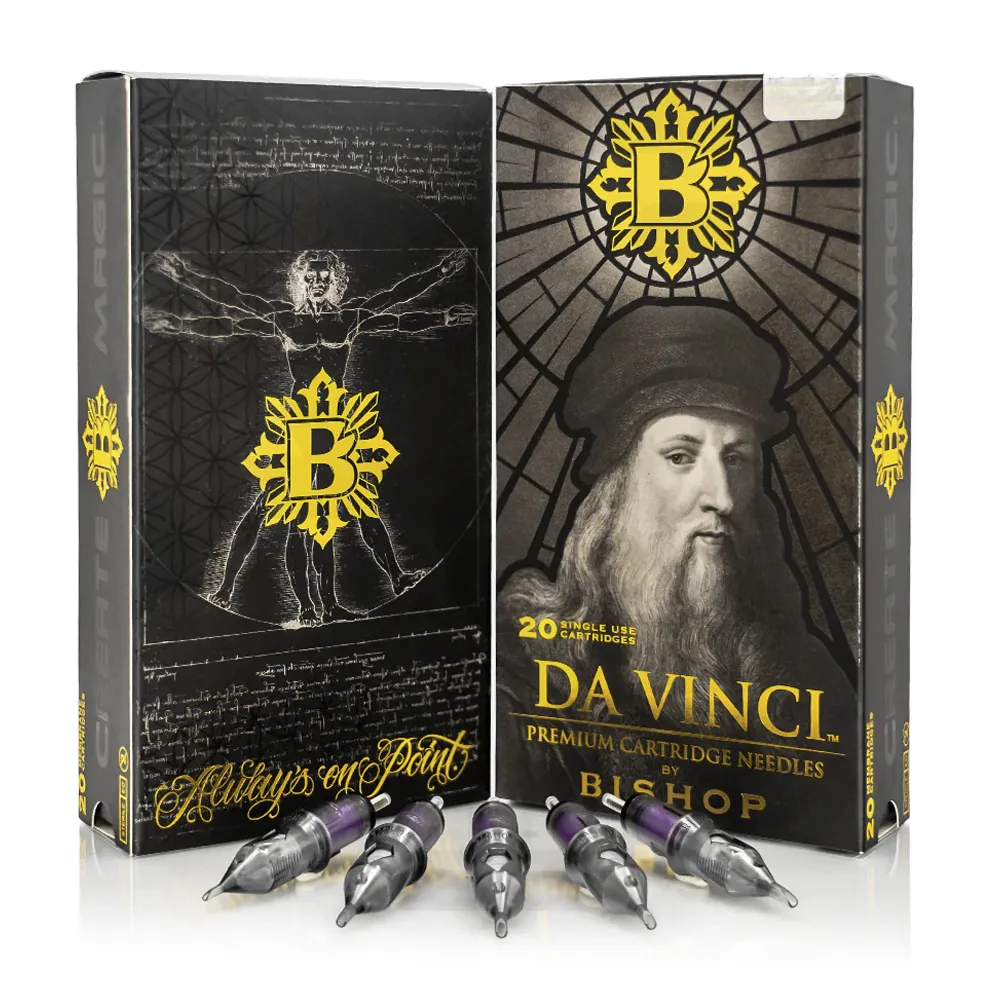
Nexus Cartridges - Curved Mags
Another curved-mag choice for planned shaded passages.
 Eyes, Hair & Detail
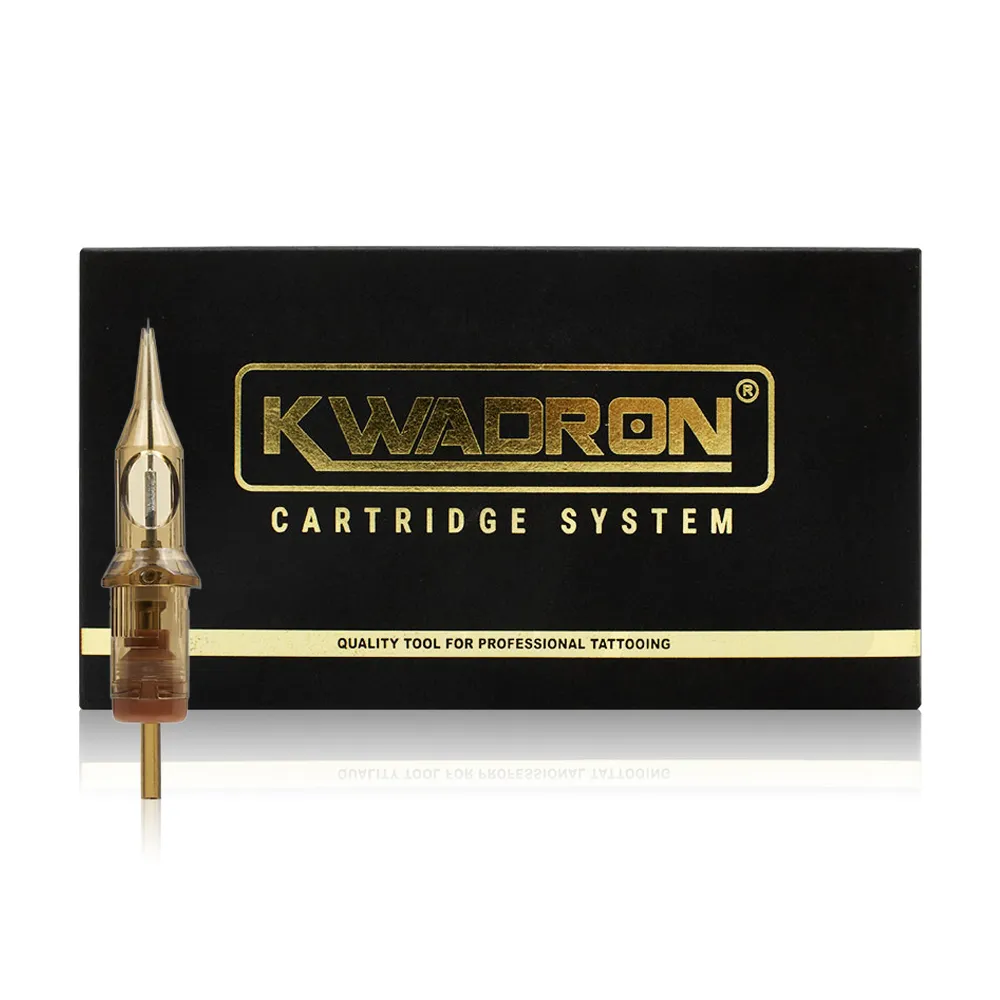
Bishop - Da Vinci V2 Liners
Round-liner option for fine facial features and details.
 Precise Lining Option
Kwadron - Cartridges Liners
Kwadron RL option for contours and selected accents.
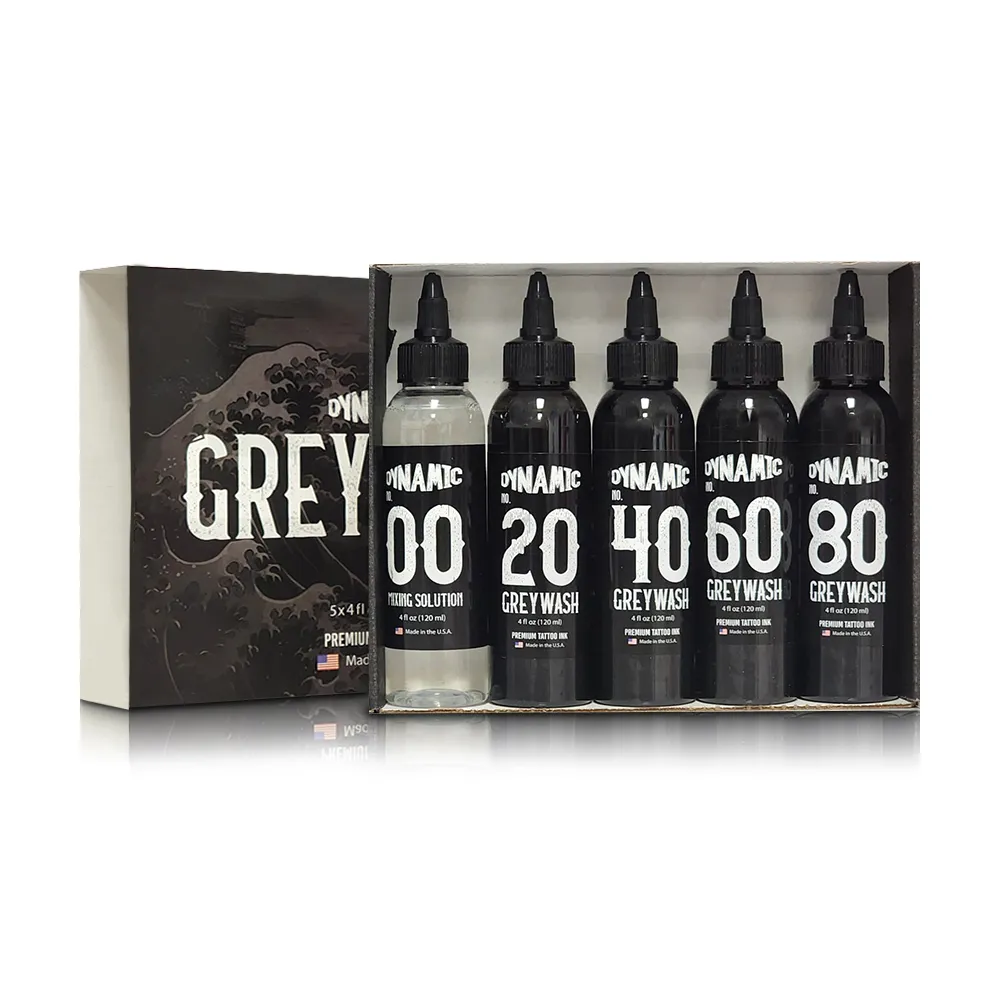 Black & Grey Wash Palette
Dynamic - Greywash Set
Listed #20, #40, #60 and #80 washes for a greywash value palette.
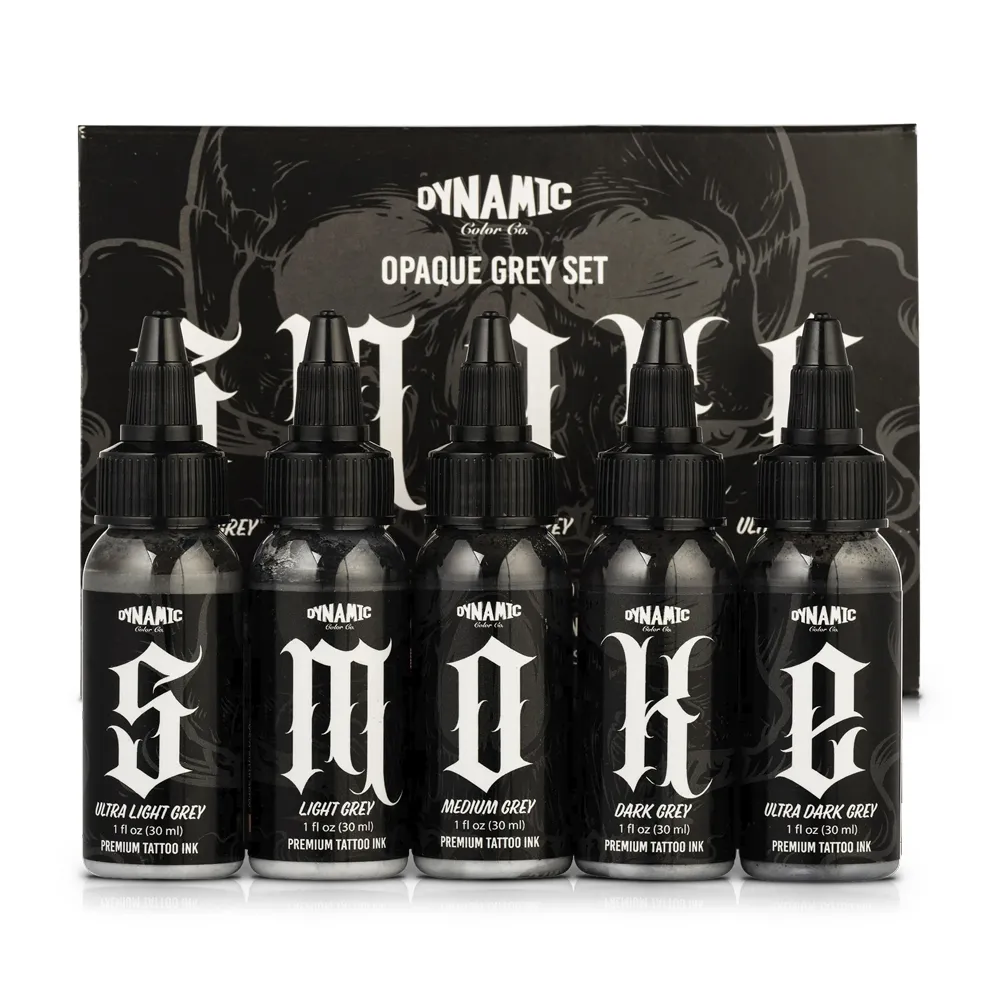 Opaque Gray Palette Option
Dynamic - Smoke Opaque Greys Set
Opaque-gray set to compare with a greywash system.
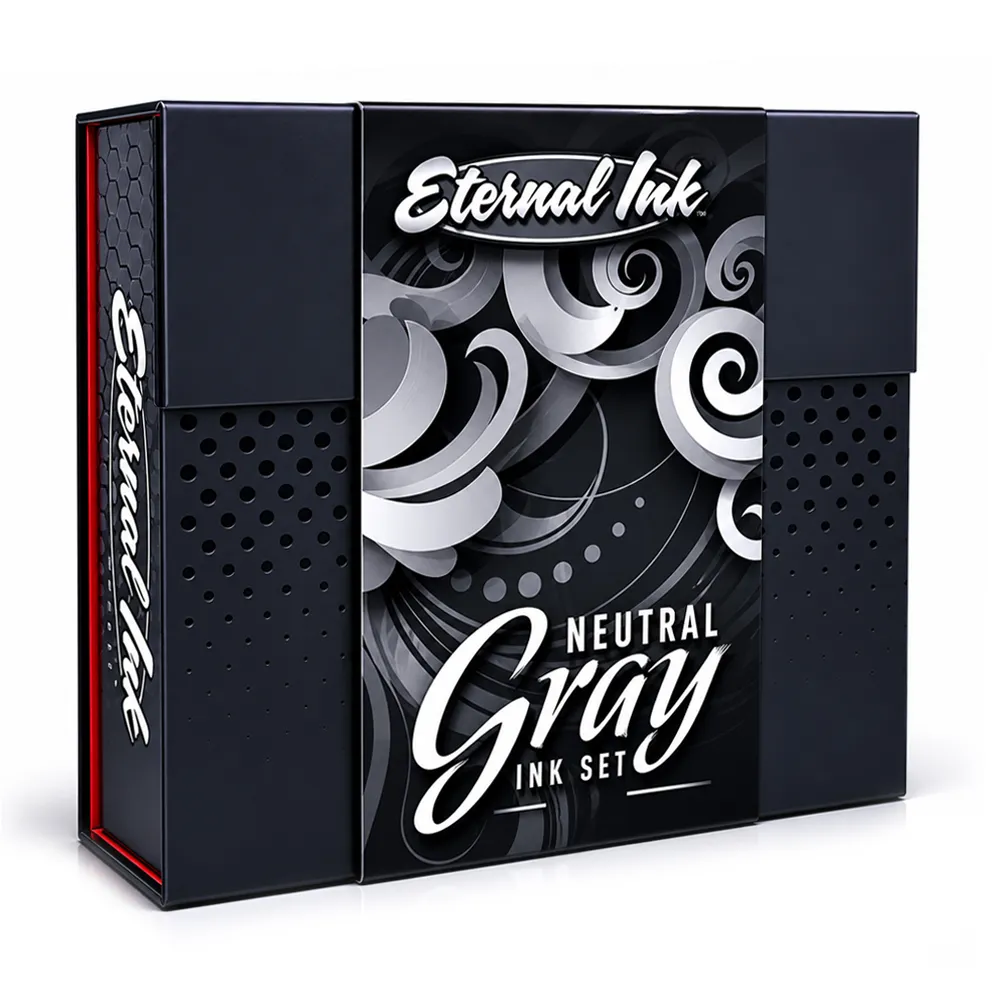 Neutral Gray Set
Eternal Ink - Neutral Gray Set
Neutral-gray option for a monochrome portrait palette.
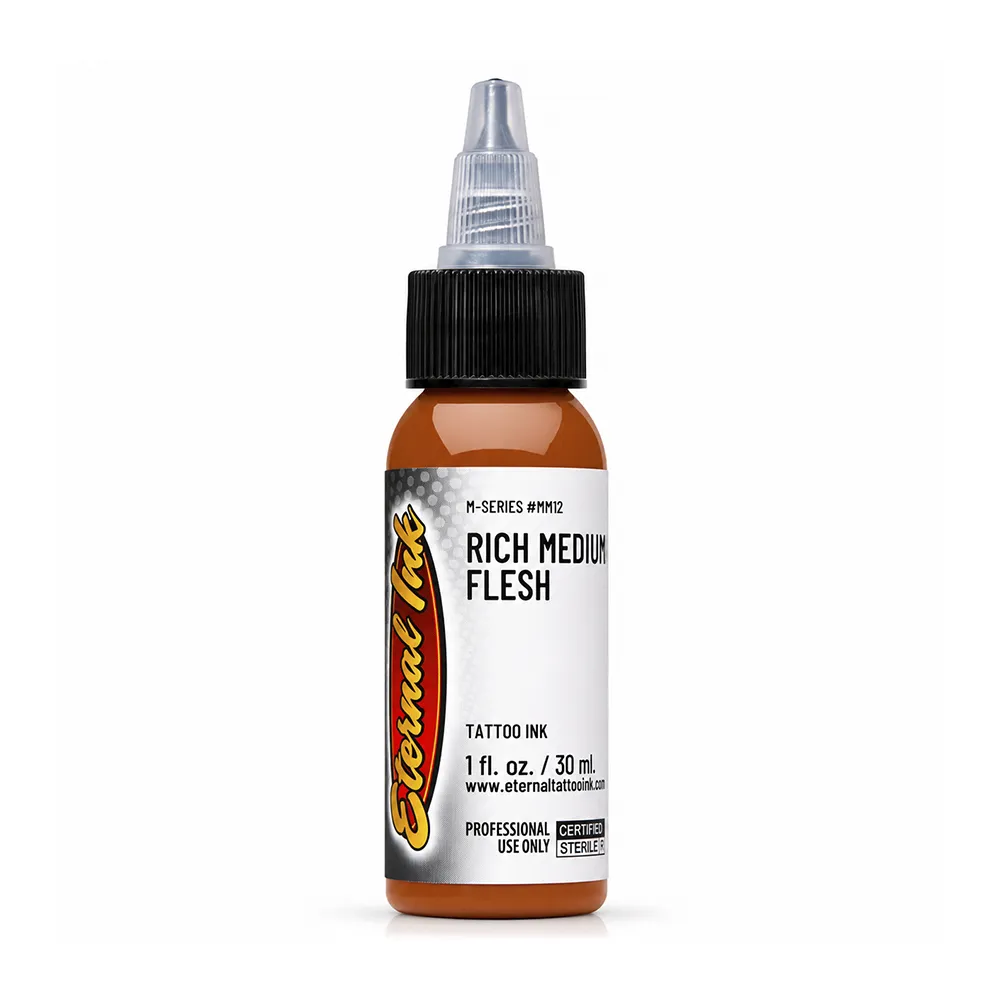 Color Portrait Skin Tone
Eternal Ink - Rich Medium Flesh
Flesh-tone ink to compare within a color-portrait palette.
 Additional Flesh-Tone Option
Solid Ink - Flesh
Another skin-tone option for the artist's selected undertones.
 Portrait Highlight Planning
Allegory - White Ink
White ink for planned catchlights or accents, used per label.
 Detailed Portrait Stencil
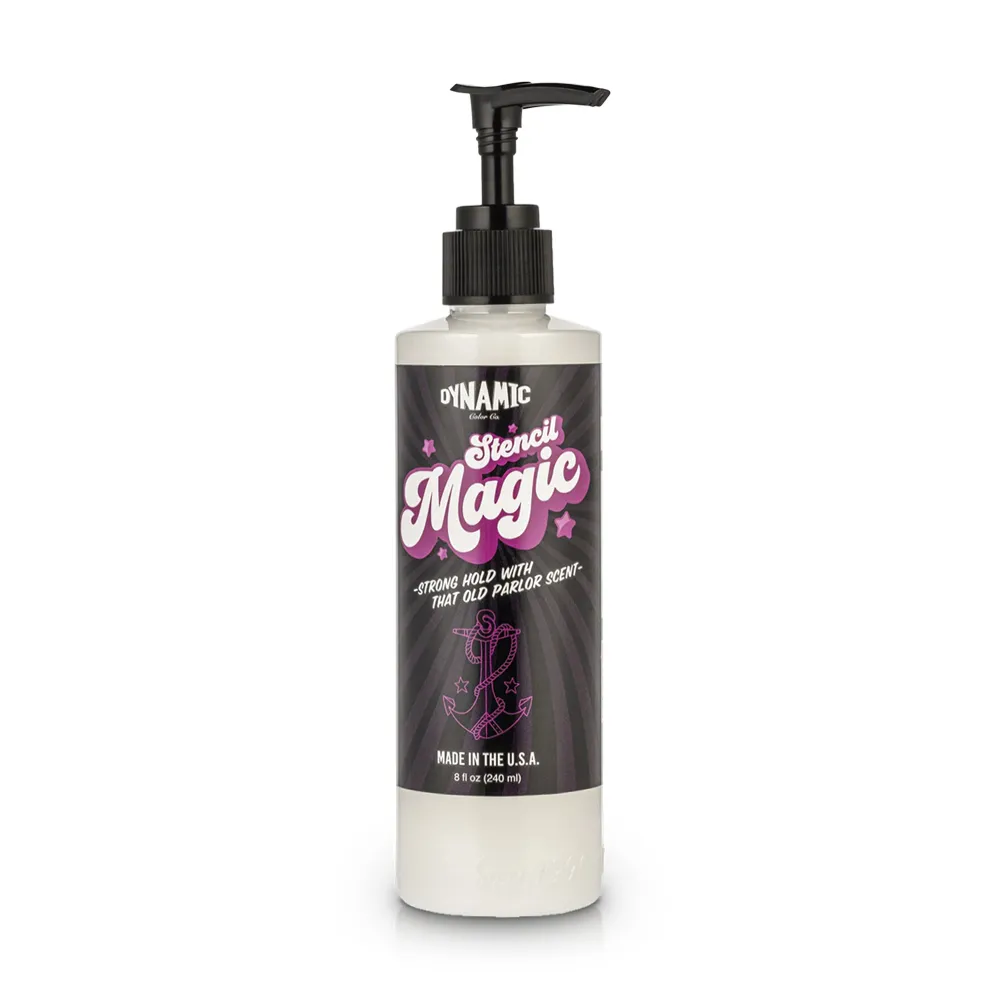
Dynamic - Stencil Magic 8 oz
Stencil product for transferring the approved portrait reference.
Browse Kwadron Cartridges Shop Flesh-Tone Inks Browse Stencil Supplies
PORTRAIT WORKFLOW CHECKLIST
What should an artist check before starting a realistic portrait tattoo?
Review the reference, stencil, cartridge plan, palette and machine before the session. The checklist combines this guide's manufacturer guidance with studio planning steps.
- Reference: Confirm the subject, composition, likeness and authorized source-image use.
- Value map: Identify major highlights, midtones, deepest shadows and edges that should stay soft.
- Stencil: Transfer enough landmark information to preserve proportions without hard-outlining every tonal change.
- Shading needles: Compare curved mags for broader transitions and RS for smaller passages as StarBrite describes.
- Black and grey: Choose greywash or opaque grays intentionally and review the existing mixing guide before any dilution.
- Color: Plan highlight, warm and cool midtones, shadow roles and the client's skin undertone.
- Machine: Use Peak's general stroke categories as references and follow the exact equipment instructions.
- Highlights: Reserve catchlights and use white with the restraint StarBrite recommends.
- Care discussion: Explain that healed appearance may soften and review AAD-based UV protection.
FAQ
Frequently asked questions about realistic portrait tattoo needles, inks and technique
These answers address the portrait decisions artists search for when preparing human faces or pet portraits in black and grey or full color.
How do you tattoo a realistic portrait step by step?
Map likeness and values from the reference, approve the stencil, choose curved mags and detail liners, select greywash or skin tones, then test the layering plan.
What tattoo needles do you use for a portrait?
StarBrite discusses 07RM/09RM for medium shading, 11RM/13RM for large areas, 05RS/07RS for tight zones and 01RL or bugpins for fine details.
How do you tattoo realistic hair on a portrait?
Plan the hair's main value shapes first; Peak describes bugpins for fine hair detail. Compare isolated marks with broader shaded areas.
How do you tattoo realistic eyes and catchlights?
Keep eye values recognizable and place selected fine details. StarBrite discusses white catchlights but urges restraint with white ink.
What ink works for a portrait: greywash, opaque gray or skin tones?
For black and grey, compare greywash or opaque-gray sets. For color, StarBrite describes highlights, warm/cool midtones and shadows.
How do you blend portrait shading smoothly?
StarBrite describes gradual curved-mag overlapping passes, including circular or X-shaped movement in transitions.
How do you stencil a realistic portrait tattoo?
Preserve feature landmarks and major value boundaries; use the SVT Shop stencil guides to plan transfer.
How do you tattoo a realistic dog or pet portrait?
Map distinctive pet features and tonal masses, then compare fine fur marks; Peak cites bugpins for hair details.
How long does it take to tattoo a portrait?
Discuss scope and scheduling for the reference, placement and detail with the client rather than quoting a fixed number of hours.
Do portrait tattoos fade or blur as they heal and age?
StarBrite says light washes may become faint and color may look muted when healed. AAD says UV can fade some ink.
What stroke and voltage should you use for portrait shading?
Peak describes short-stroke shading and medium-stroke blending categories; follow the machine manual, not a portrait preset.
What is the minimum size for a realistic portrait tattoo?
Test reference readability at the intended scale and on practice skin instead of applying a universal minimum portrait size.
RESEARCH
Sources Consulted
StarBrite and Intenze provide manufacturer portrait guidance; Peak and Kwadron cover needles and machines; AAD supports the UV-care advice.
- StarBrite: Tattoo Inks Designed for Realism
- StarBrite: Skin-Tone Tattoo Inks for Portrait Work
- StarBrite: Grey Wash Tattoo Ink Guide
- StarBrite: Contrast Between White and Black Inks
- StarBrite: Color Theory for Tattoo Artists
- Intenze: Black and Grey Realism, 2026 Professional Guide
- Peak: Bugpin vs Standard Tattoo Needles
- Peak: Machine Setup for Lining, Shading and Color
- Kwadron: Needle Configuration Guide
- American Academy of Dermatology: Caring for Tattooed Skin