Powered by Comercia.io
Whip shading vs pepper shading vs stippling comes down to the movement, the spacing of ink marks, and the texture you want: whip shading sweeps out of the skin to build a fade, pepper shading describes a scattered, pepper-like finish often produced by that same motion, and stippling or dotwork builds tone from distinguishable dots. For artists searching for whip shading tattoo needles, voltage, machine settings, or dotwork techniques, this guide connects hand motion and cartridge choice to practical tests on synthetic skin.
Shop Tattoo Needles Shop Practice Skin
QUICK ANSWER
Whip shading vs pepper shading vs stippling: what is the difference?
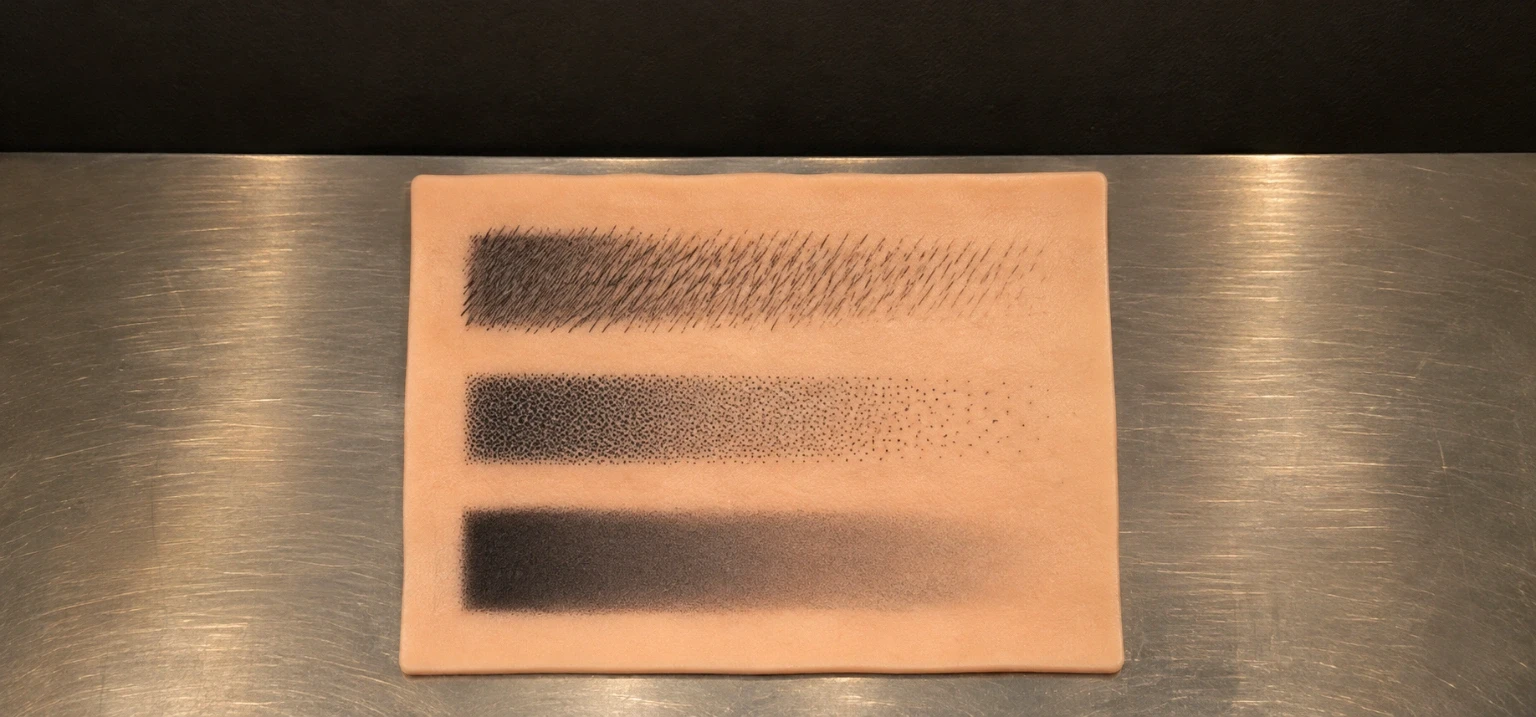
Whip shading is a sweeping, lifting hand motion that creates a gradient. Pepper shading refers to the broken-up, grainy dots that may result from whip shading rather than one universally separate procedure. Stippling intentionally uses visible, spaced dots to create value or a pattern; dotwork can describe the broader tattoo design built from those marks. Tattooing101 teaches a round liner for machine stippling, while Peak and Kwadron describe specialty needles that can also produce dotted texture.
WHIP SHADING
Sweep and lift: dark near the start, progressively lighter and more open through the exit. Often practiced with a magnum.
PEPPER SHADING
Scattered pepper-like marks and open negative space. Frequently the visual result of a whip-shading movement.
STIPPLING / DOTWORK
Clearly separated dots organized into texture, gradients, or geometric patterns; round liners offer detail control.
AT A GLANCE
Whip shading vs pepper shading vs dotwork: which technique creates which result?
Use this comparison to select a motion and a cartridge family. It combines Tattooing101's whip and stipple demonstrations with the needle descriptions from Peak Needles and Kwadron; it is not a fixed classification of every artist's vocabulary.
| Question | Whip shading | Pepper shading | Stippling / dotwork |
|---|---|---|---|
| Primary idea | Swept gradient created by lifting through a stroke. | Grainy, pepper-like broken texture. | Clearly separated dots forming tone or shapes. |
| Hand movement | Touch, drag or sweep, then flick away. | Often the same whip motion, adjusted for open marks. | Controlled dot placement or round-liner machine stipple movement. |
| Needles to compare | Magnums or curved mags; smaller shaders for tight areas. | Curved mag, round shader, or specialty stipple mag. | Round liner for fine dots; specialty dot-texture groupings also exist. |
| Visible result | Dark-to-light transition, potentially with spaced marks. | Speckles and visible negative space. | Dots that can form a gradient, border, or geometric design. |
| Best design question | Where should the shadow taper away? | How open or dense should the grain look? | Should the viewer recognize individual dots? |
Whip shading and pepper shading often mean the same workflow
FK Irons explicitly links whip shading with peppered texture, while Tattooing101 describes a whip as leaving a lighter trail of peppery dots. Treat pepper shading primarily as a description of the result unless the artist explains a more specific personal method.
MOVEMENT TUTORIAL
How do you do whip shading with a tattoo machine?
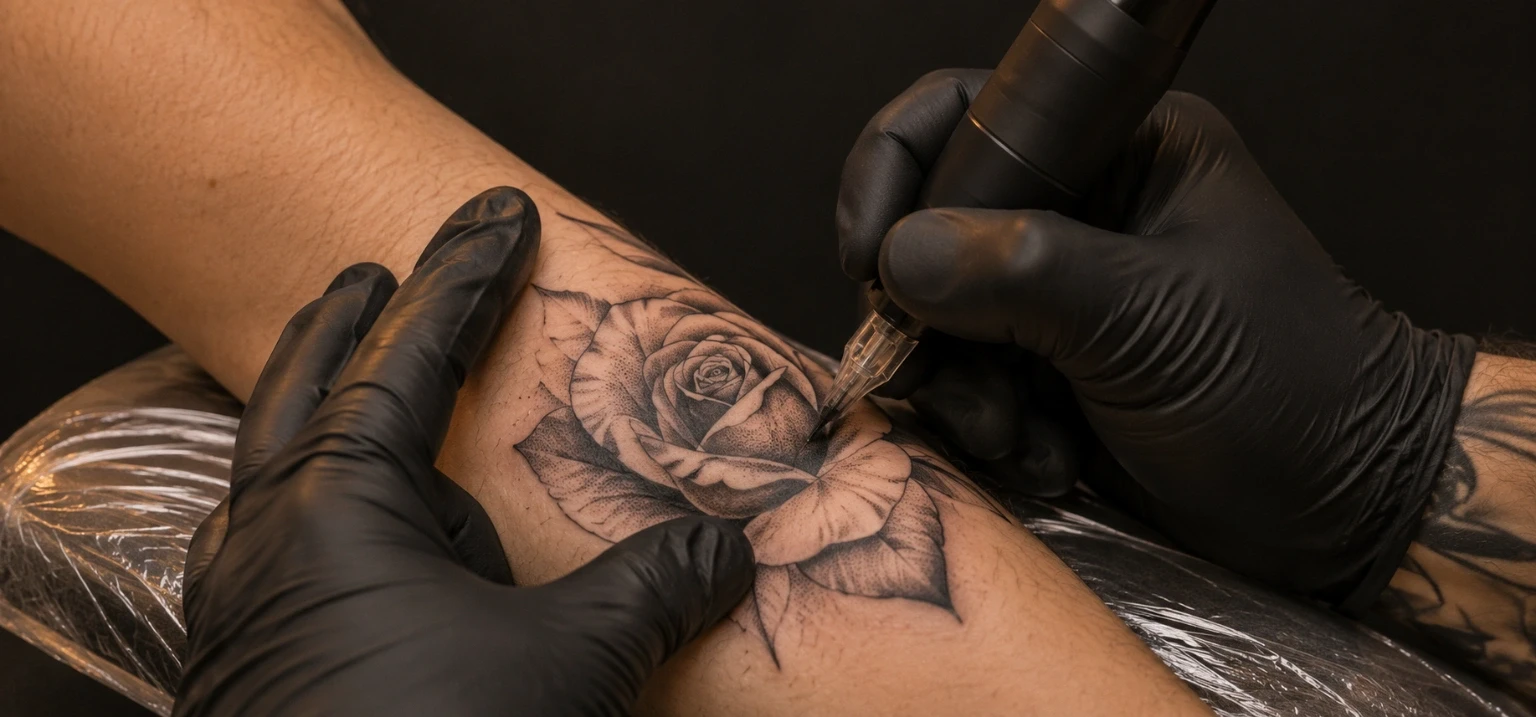
Tattooing101 teaches a touch, sweep, and gentle flick. The shaded stroke is denser at the entry and lighter as the hand lifts. Peak Needles also describes whip shading as a sweeping motion that gradually removes the needles from the skin. Practice the geometry of that movement on synthetic skin before translating it to a tattoo.
Choose the gradient direction
Mark where the dark area begins and where it should fade to open skin. Keep the intended transition visible, so the motion follows the design rather than becoming random shading.
Select a grouping that fits the space
Peak recommends mags for broad work and smaller groupings around details. A curved mag can help create a softer edge, while a round shader can fit a smaller area.
Touch down at the darker edge
Begin the motion at the planned shadow boundary. Tattooing101 describes starting in contact with the skin rather than attempting the whole fade at one depth.
Sweep and lift smoothly
Move across the area and gently flick the machine away. The change in contact should produce a gradual reduction in marks rather than an abrupt square edge.
BUILD THE GRAIN
How do you create pepper shading instead of a smooth gray fill?
Focus on spacing and a visible trail of individual marks. FK Irons connects whip shading with peppered texture; Peak says hand and machine speed influence whether dots are open or densely grouped. The movement often overlaps with whip shading rather than forming an entirely different technique.
Plan the density
Decide where the pepper will be dark and where specks should remain apart, such as the fade around a flower or illustrative detail.
Sweep and lift
Use Tattooing101's whip motion and inspect the open texture rather than trying to fill every gap.
Compare dot spacing
Peak links dot spacing to hand and machine speed. FK warns that many cycles over a small area can turn an open texture into overly dense shading.
Ask whether the design calls for subtle grain or clearly visible speckles before choosing a needle grouping.
VISIBLE DOTS
How do you do stippling and dotwork tattoo shading?
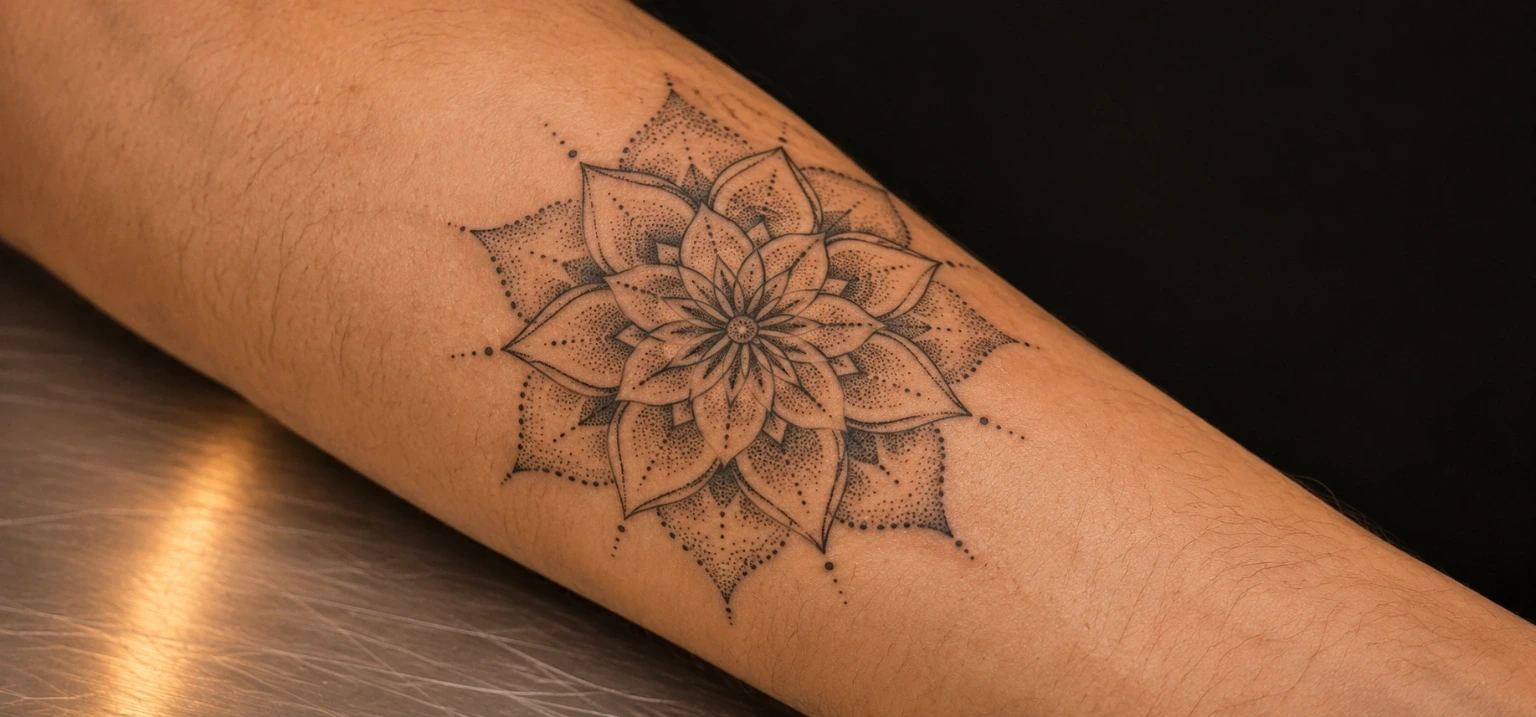
Tattooing101 teaches a round liner with a whip-like motion, using hand speed relative to machine speed to leave separate dots instead of a continuous line. Dotwork can also describe a broader design built around recognizable dots.
Plan the pattern
Choose whether the dots form a gradient, small detail, or a geometric composition.
Test a round liner
Tattooing101 recommends RL for stippling and detailed areas. Compare its concentrated marks with a magnum's broader sweep.
Balance hand and machine speed
The Tattooing101 method lowers voltage and moves the hand faster to separate deposits. Stay within your machine's operating guidance.
Build visible density
Keep marks more open in lighter areas and closer together for darker areas, then assess the pattern as a whole.
A round liner is not the only route to visible dots: Peak and Kwadron also describe specialty shading needles designed for stippled texture.
MATCH THE CARTRIDGE
What needle should you use for whip shading, pepper shading, or stippling?
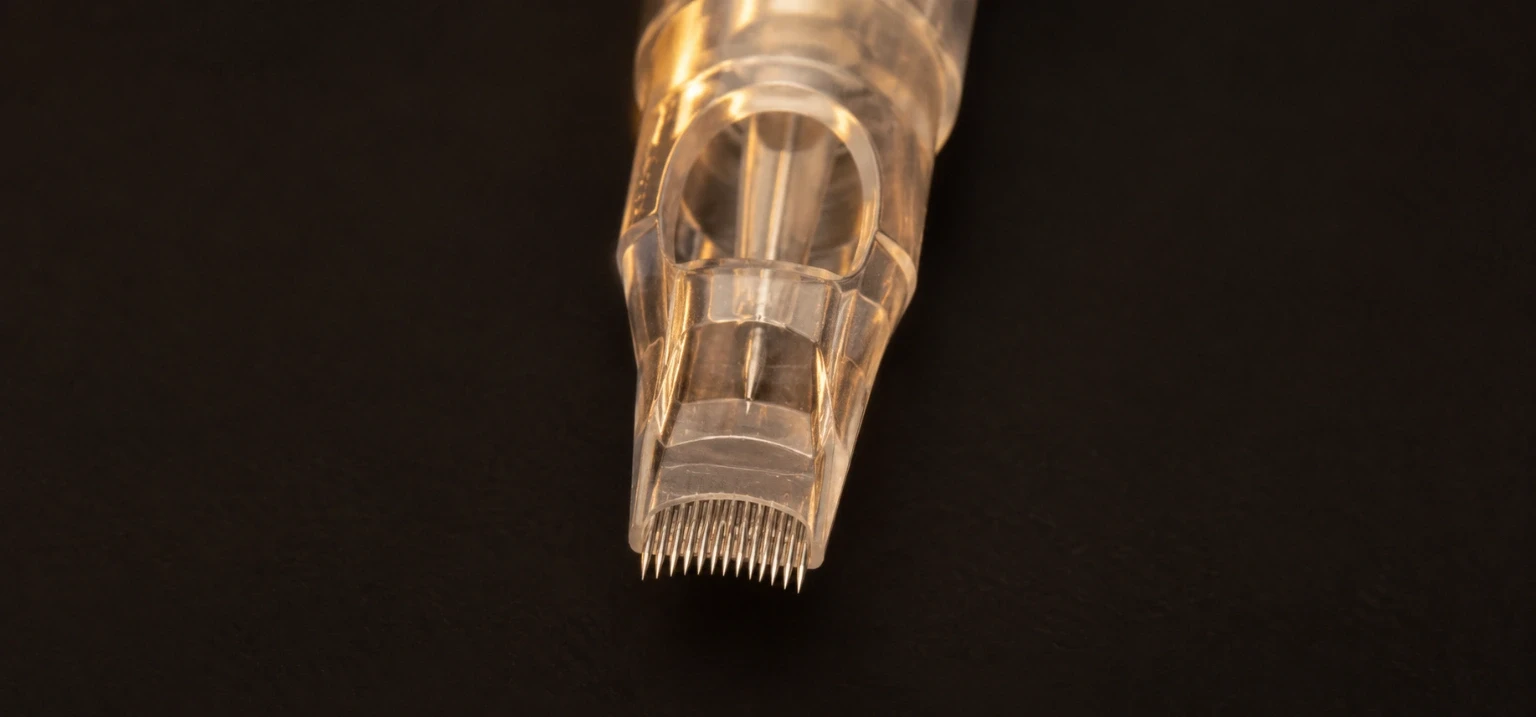
Peak Needles differentiates tight round liners, more open round shaders, and rows of pins in magnums. Kwadron describes its round shaders as useful for smaller shaded areas, its soft-edge mags for smooth transitions, and a separate specialty whip-shading design for precise dotwork and textured shading.
| Grouping | What the maker describes | Practical technique fit | What to watch |
|---|---|---|---|
| Round liner (RL) | Peak: tight arrangement for focused marks; Tattooing101 uses it for stippling. | Small separated dots, fine textures, and details. | Small errors in movement become visible in concentrated marks. |
| Round shader (RS) | Kwadron: fills and shades smaller areas with soft tonal changes. | Tight pepper textures, small soft edges, and localized shading. | Use grouping and movement suited to the available space. |
| Straight magnum (M1) | Peak: rows of needles for broader coverage and a defined edge. | Whip shading over broader sections when a firmer edge is useful. | Tattooing101 cautions against dragging an un-angled mag edge across skin. |
| Curved / soft-edge mag (RM) | Peak and Kwadron: softer outer pin profile and gradual transitions. | Broad whips and softer black-and-gray gradients. | Choose a width that fits the detail instead of crowding corners. |
| Dedicated stipple / whip mag | Peak: spaced pins for distinct dots; Kwadron: specialty whip cartridge for shading and dotwork. | Peppered texture and dot-based transitions on larger areas. | Specialty geometry changes the mark, but control still comes from movement and speed. |
Read SVT Shop's tattoo needle guide for RL, RS, M1, and RM markings, and our cartridge selection guide for choosing a compatible setup.
PIN GEOMETRY
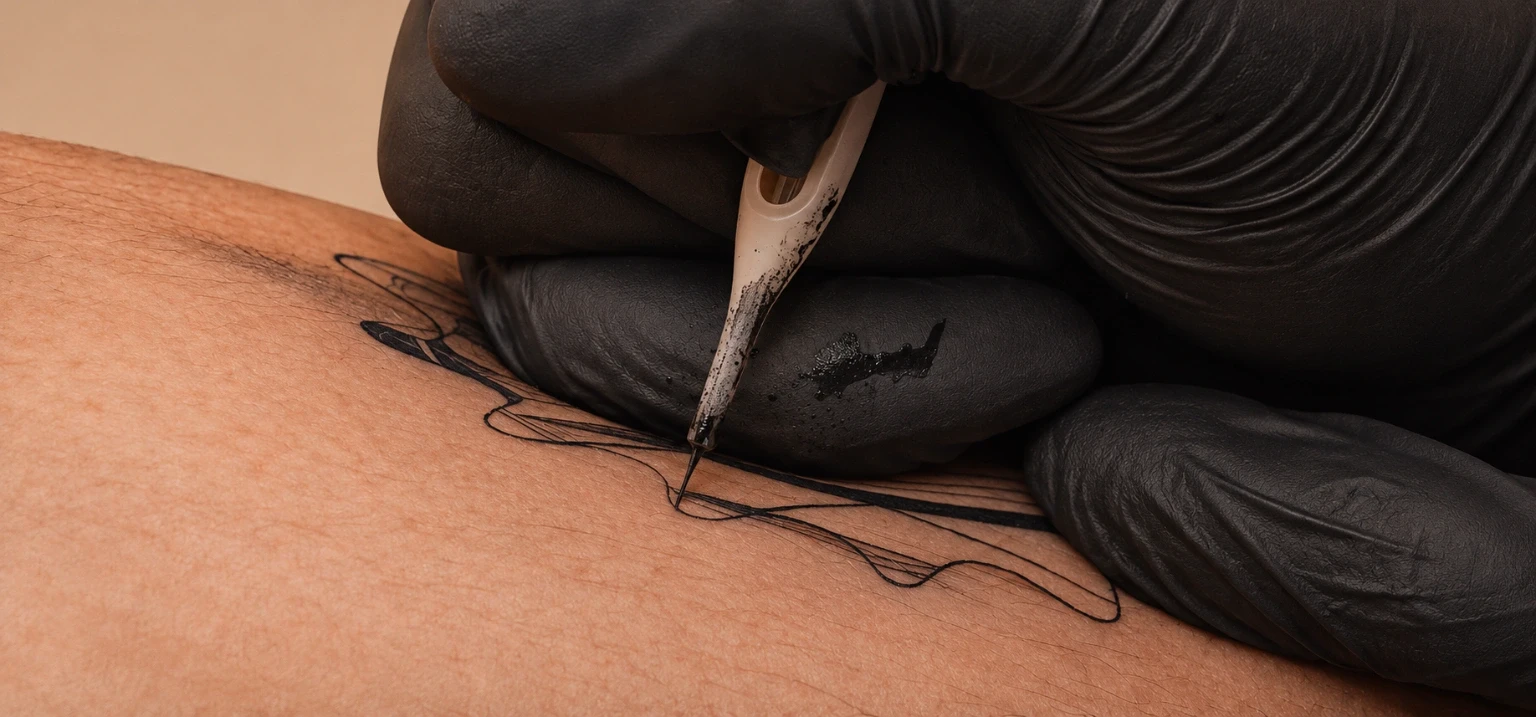
Bugpin vs standard needles: how do diameter and taper affect shading?
Peak Needles describes 0.35 mm (#12) as standard diameter and 0.30 mm (#10) or 0.25 mm (#8) as bugpin diameters. Kwadron says long taper supports smoother tonal transitions, while medium taper releases ink faster.
Bugpin diameter
Peak suggests trying smaller pins for fine shading but warns that they do not automatically prevent graininess or reduce skin trauma.
Standard diameter
Peak presents standard pins as useful for broader coverage when the setup already delivers the intended texture.
Specialty geometry
Peak's own stipple mags use 3×3 or 3×6 layouts, #10 or #12 pins, and a 7 mm extra-long taper. Those specifications are for that specialty family, not universal shading requirements.
Keep grouping size and machine settings consistent when comparing diameter or taper on practice skin.
MACHINE SETTINGS
What stroke and voltage should I use for whip shading or pepper shading?
FK Irons' machine-settings guide gives 3.5–4.0 mm stroke for whip shading because the swing supports a peppered texture, and 2.5–3.0 mm for soft shading. Stroke describes the machine's travel; voltage changes the cycling speed, not how deeply a needle enters skin. Treat the ranges as starting points and follow your model's specifications.
| Question | Manufacturer reference | How to use it |
|---|---|---|
| Whip shading stroke | FK Irons: 3.5–4.0 mm. | Compare the swept, peppered character of the mark on practice skin. |
| Soft shading stroke | FK Irons: 2.5–3.0 mm. | Reference for lighter, gradual shading instead of pronounced pepper texture. |
| Shading voltage, broad guide | FK Irons voltage article: 6–8.5 V. | A general shading range, always within the exact machine's approved limits. |
| Shading voltage, grouping guide | FK Irons grouping article: approximately 5.5–8 V, with many setups near 6–7.5 V. | Shows why the grouping, machine, and hand matter more than a copied voltage number. |
FK's educational articles use slightly different shading-voltage ranges, and neither provides one special voltage that defines pepper shading. A round liner and a broad mag also respond differently to the same setup. Use the SVT Shop tattoo power supply guide for power-control fundamentals.
CHOOSING THE LOOK
How does whip shading look healed, and which style should a client choose?
Match the visual goal to an artist's healed portfolio. Whip shading is useful for a dark-to-light sweep; pepper shading emphasizes grain and negative space, while stippling makes separate dots central to the design. Peak recommends curved mags for soft black-and-gray transitions, and Tattooing101 uses round liners for fine stippled details.
Questions to ask your artist
- Do I want a smooth shadow, visible pepper, or a dot-based pattern?
- How much detail fits the chosen area?
- Can I see healed examples of this artist's textured shading?
A 2015 paper in the Beilstein Journal of Nanotechnology describes pigment fading and redistribution in the dermis over time. Choose the technique for its visual character rather than a promised fixed healed appearance. For pain concerns about dotwork, discuss the placement and plan with your artist.
LEARN THE MOTION
How should beginners practice whip shading, pepper shading, and dotwork?
Use synthetic skin to compare controlled movements before client work. Peak recommends testing groupings while keeping other variables steady; FK explains that hand speed and cycle rate influence dot spacing.
Mark a tonal guide
Plan the dark edge, fade direction, and lighter area where dots should stay separated.
Record the setup
Note grouping, stroke, voltage, and ink choice before comparing movements.
Practice a magnum whip
Touch, sweep, and lift. Inspect whether the result tapers and the needle contact remains controlled.
Try stippling with an RL
Use Tattooing101's liner-based approach and compare distinct dots against the magnum texture.
Change one variable
Test hand speed or grouping separately; retain samples to compare open versus dense shading.
See our tattoo practice supplies guide for a suitable training setup.
TROUBLESHOOTING
What mistakes make whip shading patchy or overworked?
Tattooing101 identifies overly wide circles, rushed movement, and poor magnum contact as shading mistakes. FK warns against slow movement with a high cycle rate when it concentrates entries in one area.
Ovals too large
Tattooing101 warns that wide circles can leave gaps. For an even fill, tighten controlled overlaps rather than expanding each loop.
Moving too fast
Uncontrolled speed can create patchiness. Compare hand movement against the intended open or smooth effect.
Magnum not angled appropriately
Tattooing101 warns that dragging the needle row incorrectly can scrape skin and create a patchy result.
Overcrowded pepper dots
FK says fast cycling with a slow hand increases entries in the same area. Reassess the speed relationship before another pass.
Peak also recommends choosing a grouping that fits the area and considering graywash, stretch, angle, and working depth.
SVT SHOP TOOLKIT
Which shading cartridges, graywash inks, and practice supplies should I compare?
Kwadron, Bishop, and Nexus offer cartridge families for different shading scales. Dynamic sets provide graywash or opaque gray palettes; practice skin lets you compare the motion before client work.
 For softer broad whips
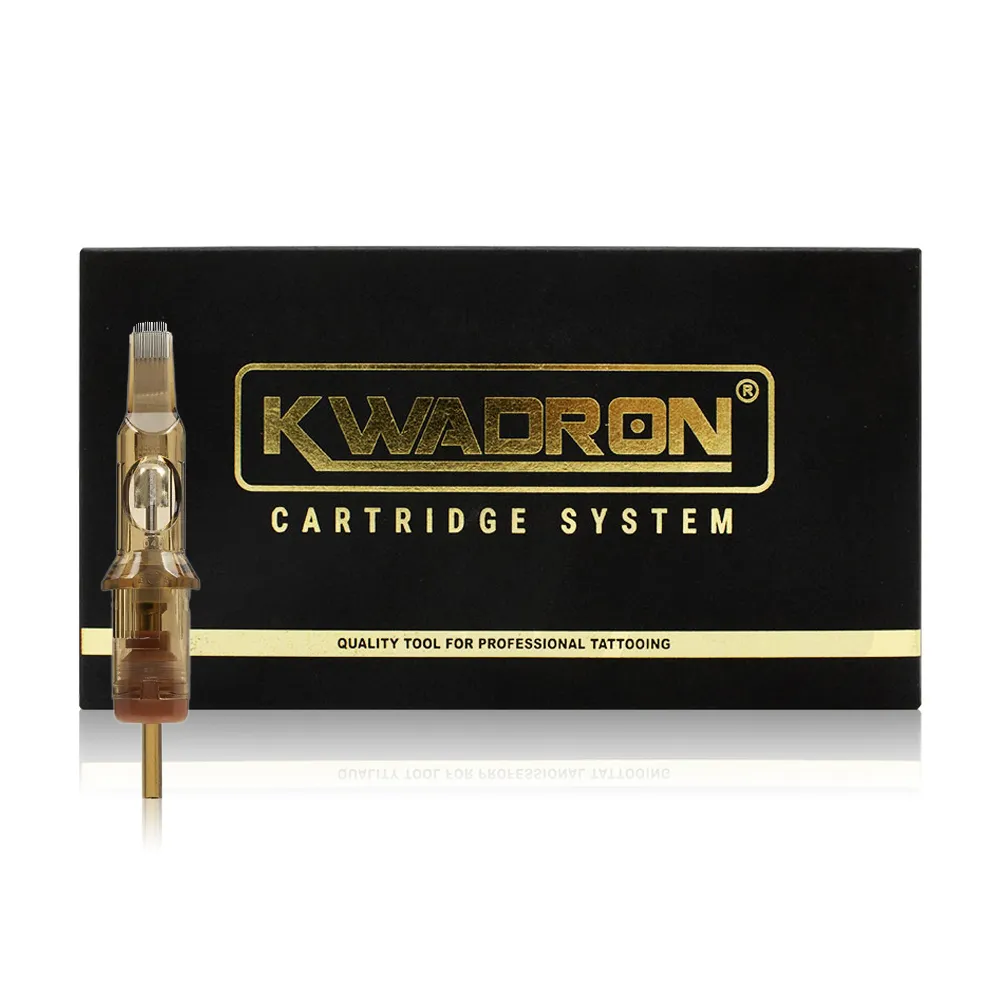
Kwadron Cartridges Curved Mags
Soft-edge magnum grouping for wider gradients and smoother edges. Compare with a straight mag when you want a different transition profile.
 For confined textured areas
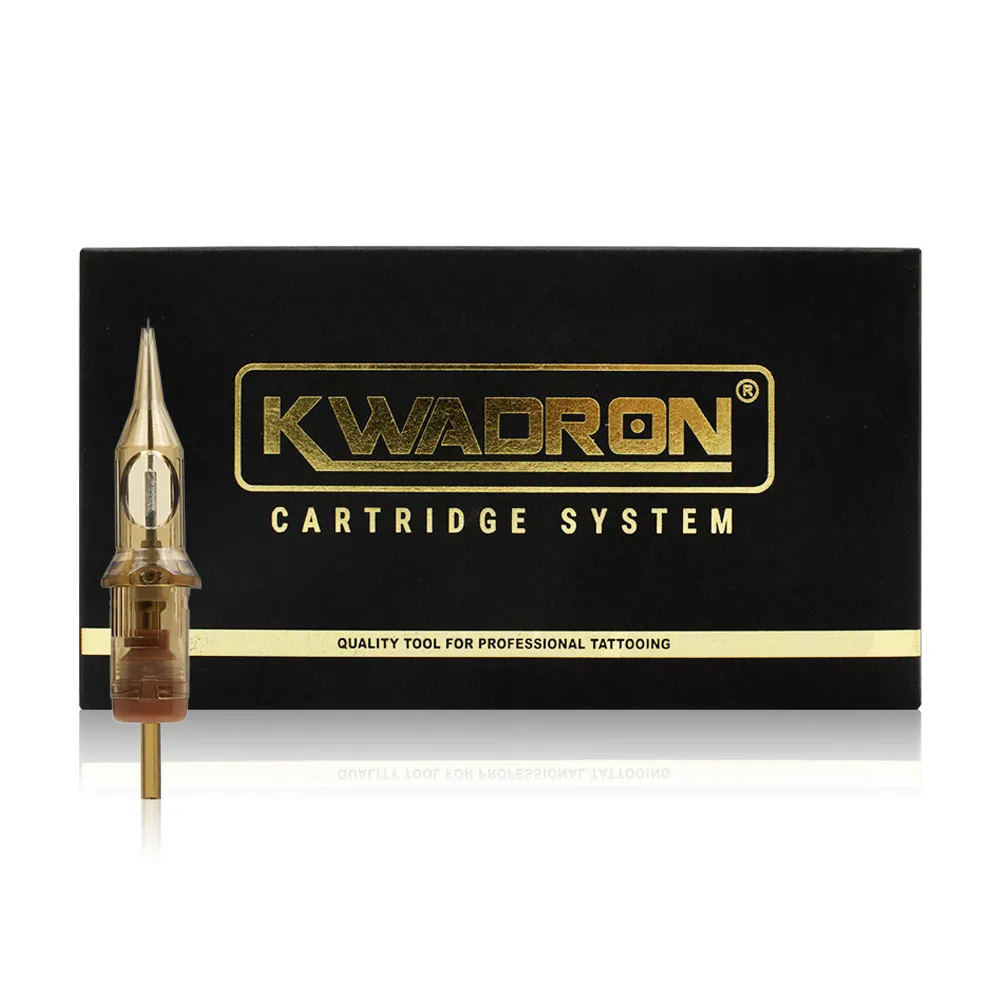
Kwadron Cartridges Round Shaders
Round shader grouping suited to smaller shaded spaces and tonal transitions, as Kwadron describes in its cartridge guide.
 For fine dotwork experiments
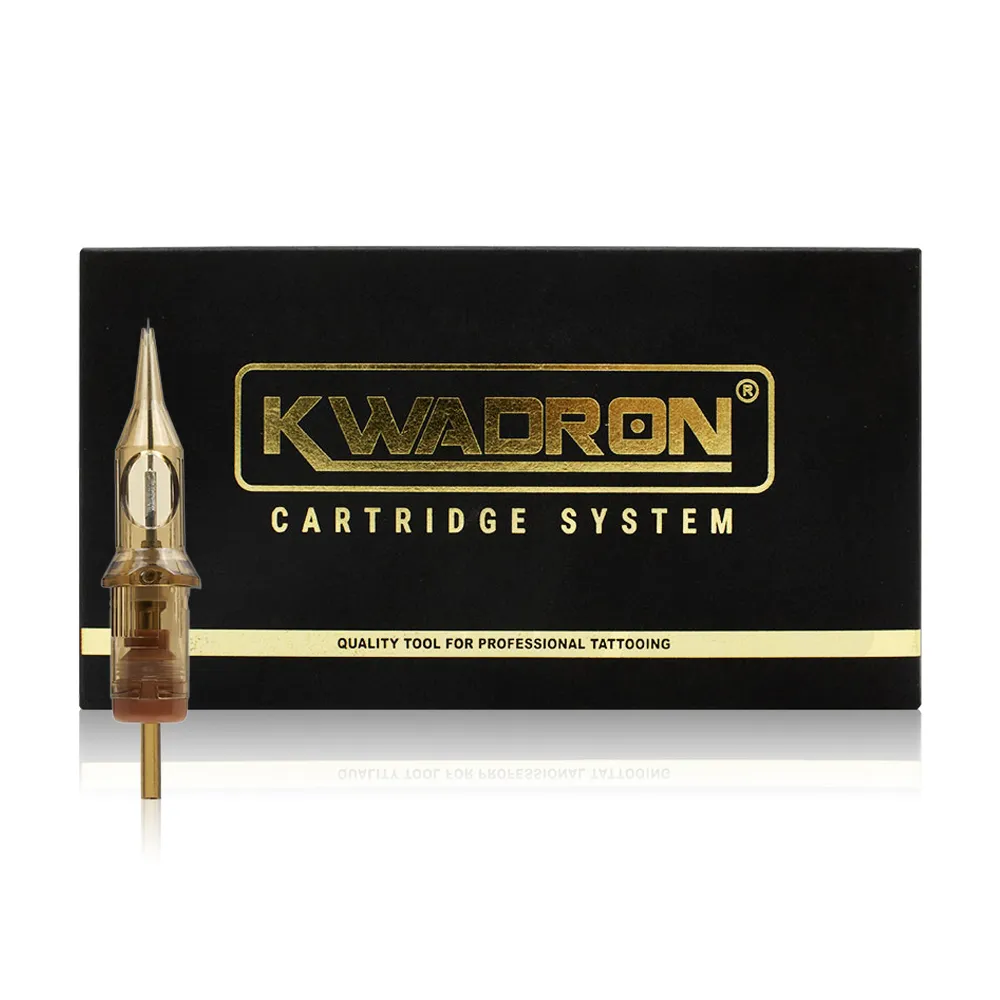
Kwadron Cartridges Liners
Round liner family to compare for small stipple marks and dot-based details. Tattooing101 teaches a round liner for machine stippling.
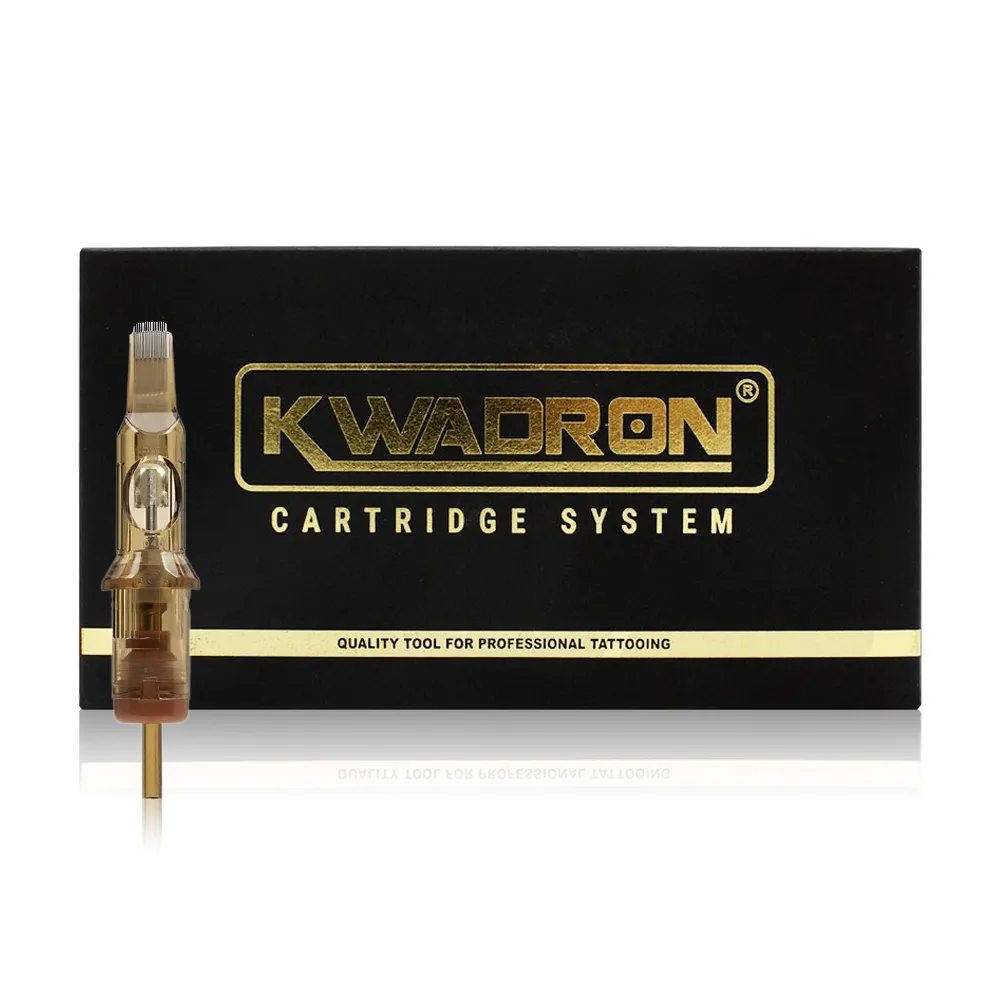 For a straight-mag comparison
Kwadron Cartridges Magnums
Traditional magnum arrangement for shading larger sections. Compare its more defined edge with the softer profile of a curved mag.
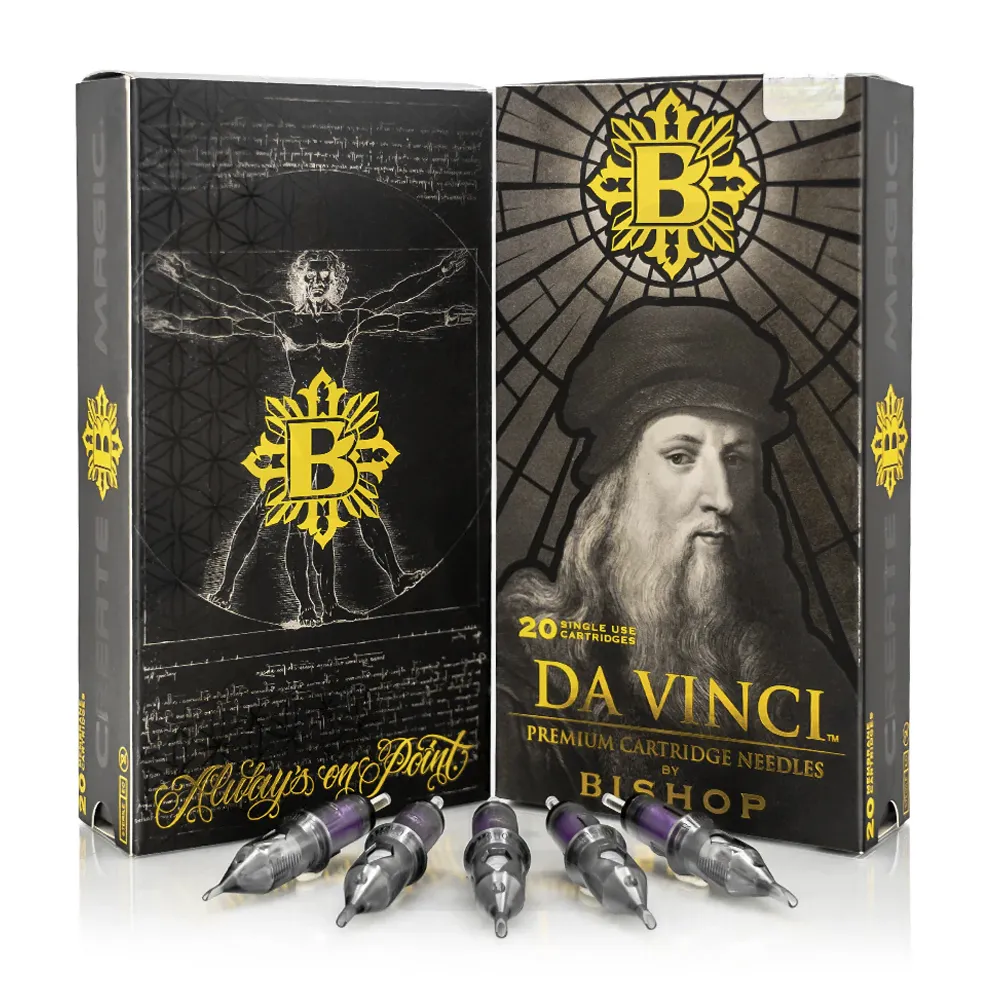 For professional curved-mag shading
Bishop Da Vinci V2 Curved Mags
A professional curved-mag cartridge option for testing broad whip movements and the feel of softer transitions.
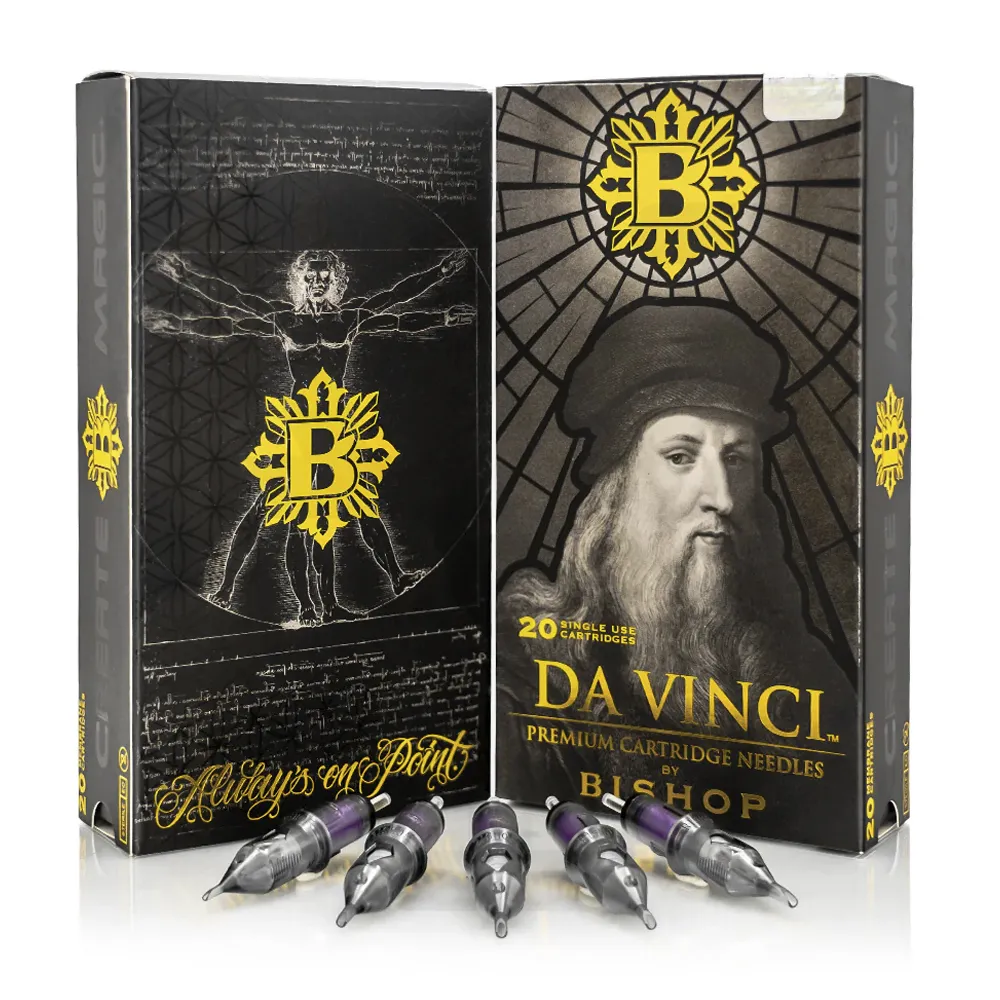 For small-area shading
Bishop Da Vinci V2 Round Shaders
A round-shader choice for narrower shaded details when a broad magnum does not fit the design.
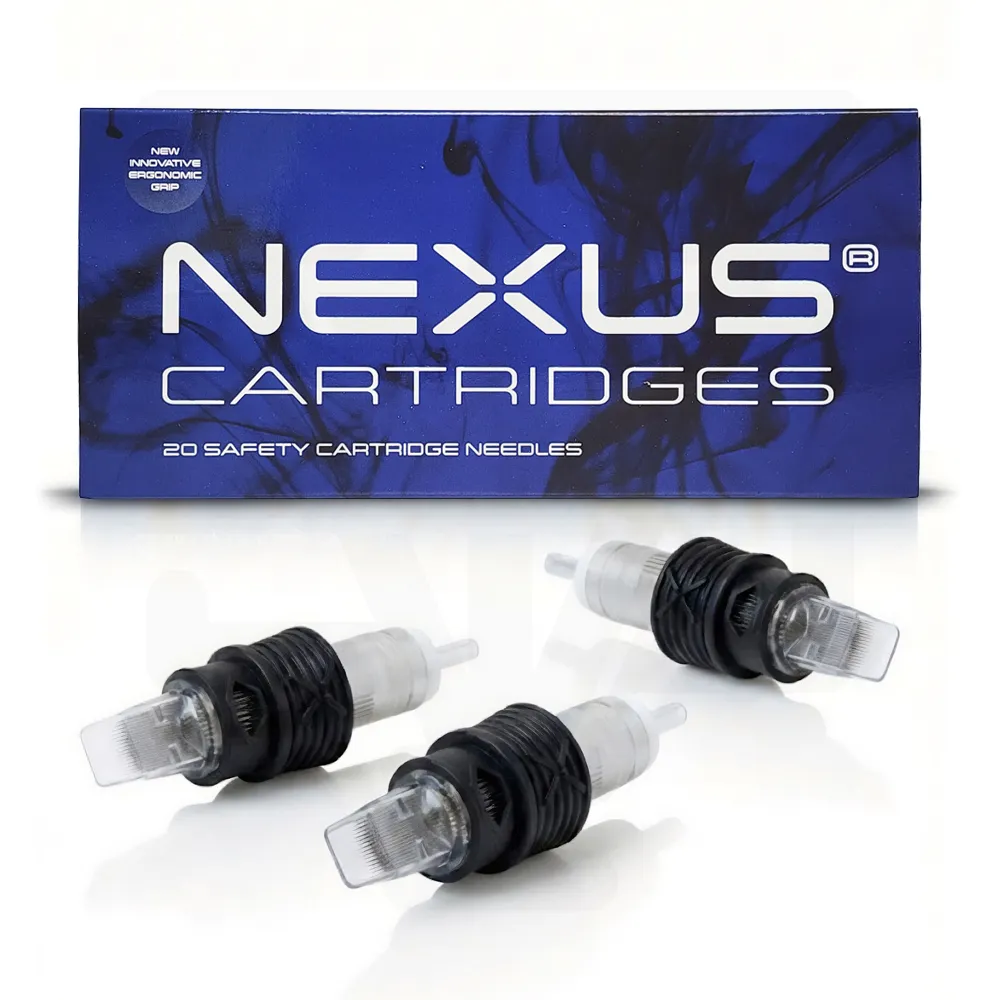 For another soft-edge option
Nexus Cartridges Curved Mags
An alternative curved-mag family to compare by compatible machine fit, grouping size, and shading control.
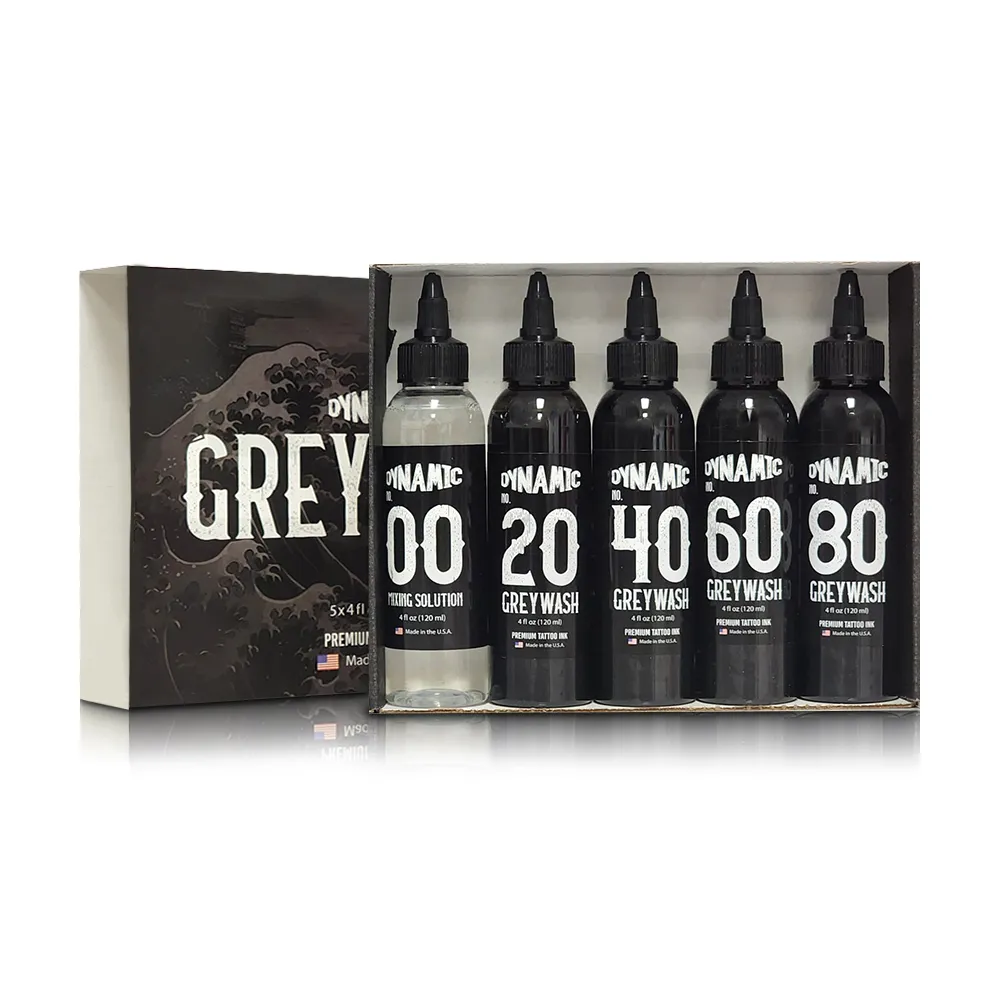 For graywash value studies
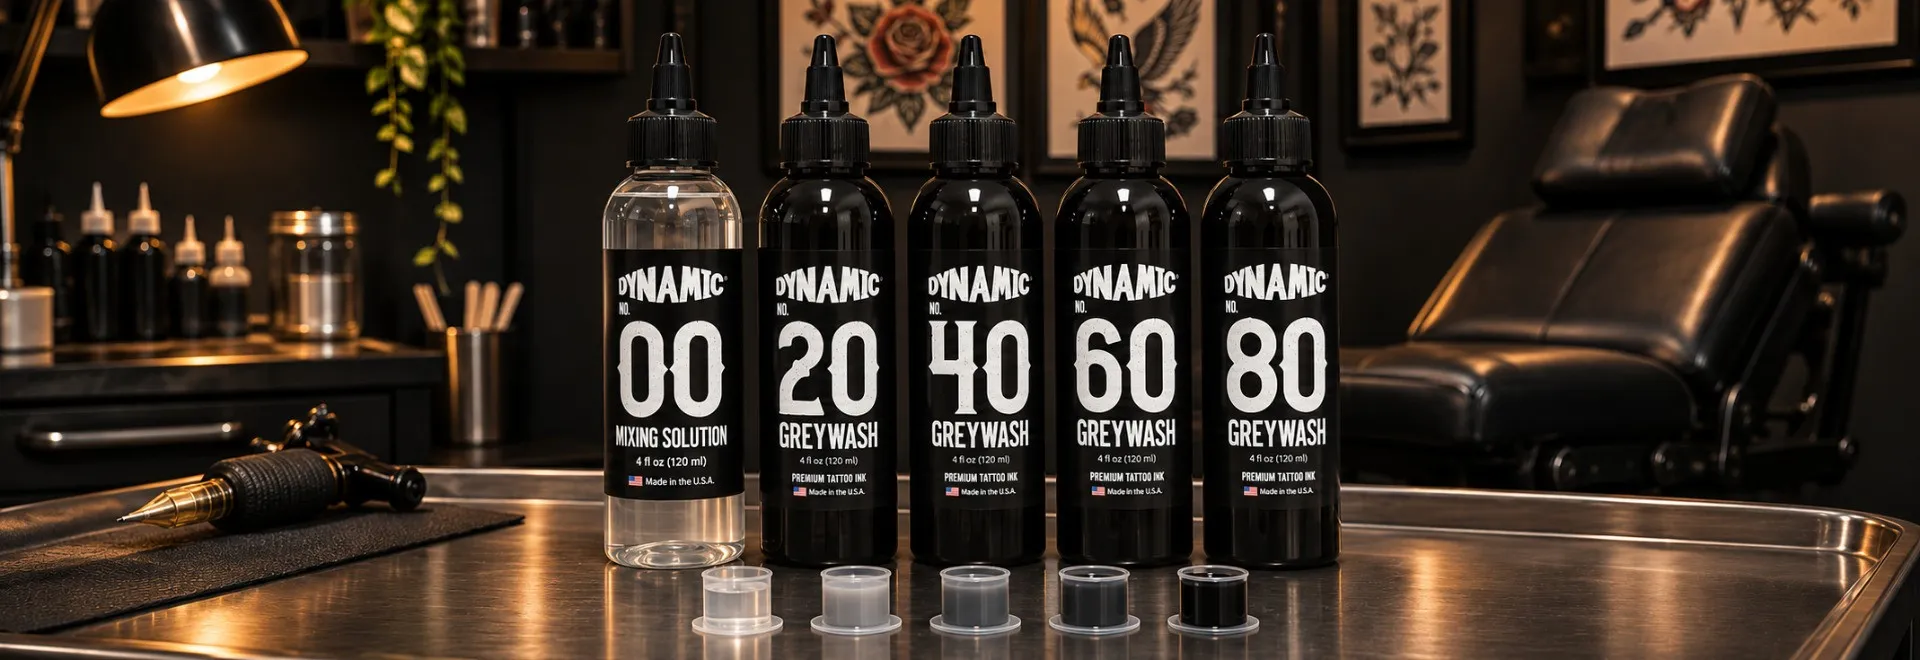
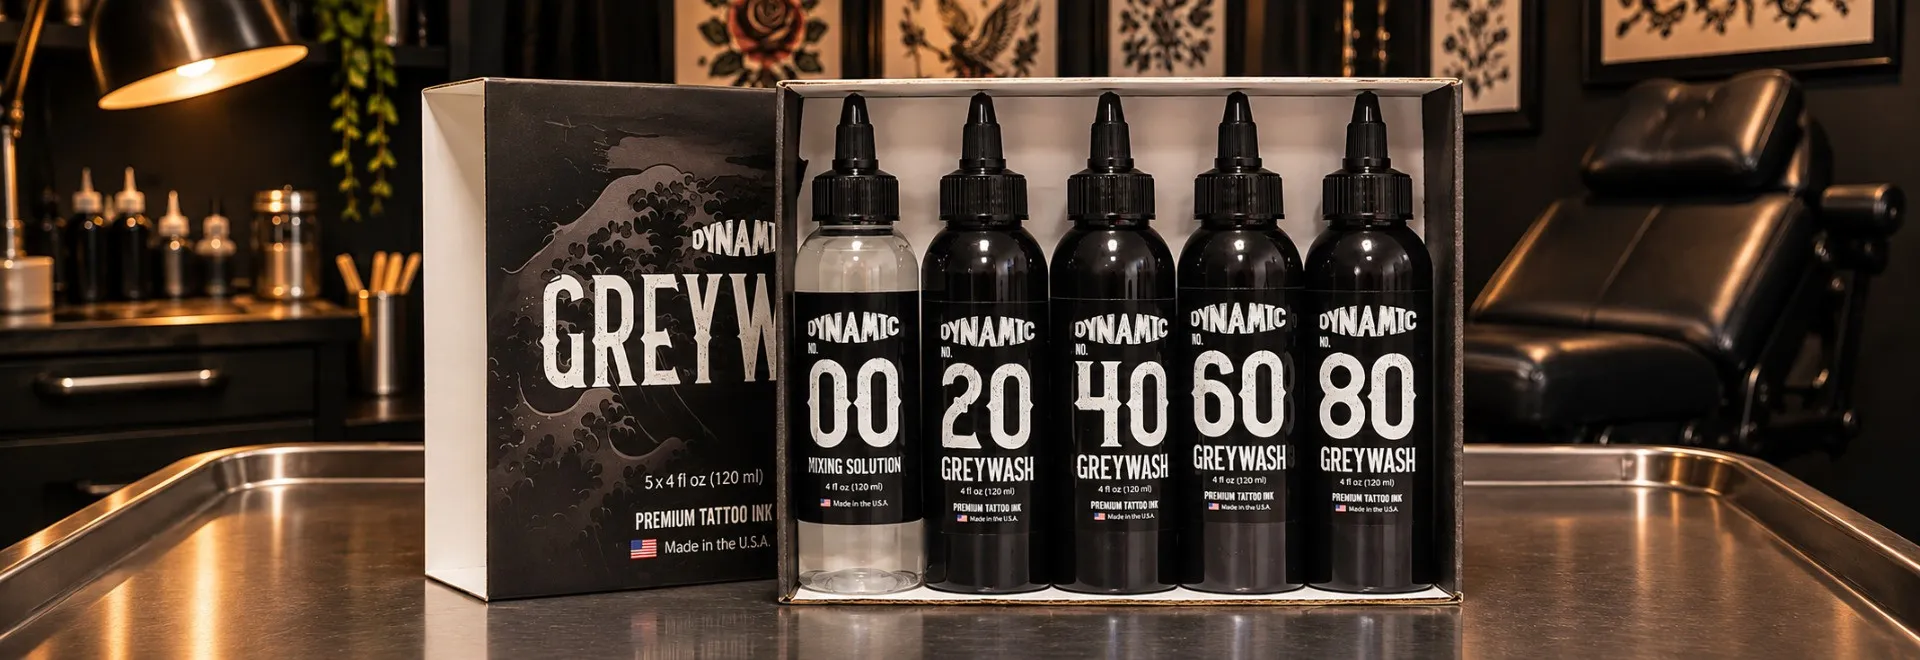
Dynamic Greywash Set
A graywash ink-set option for comparing tonal values alongside whip, pepper, and stipple movements.
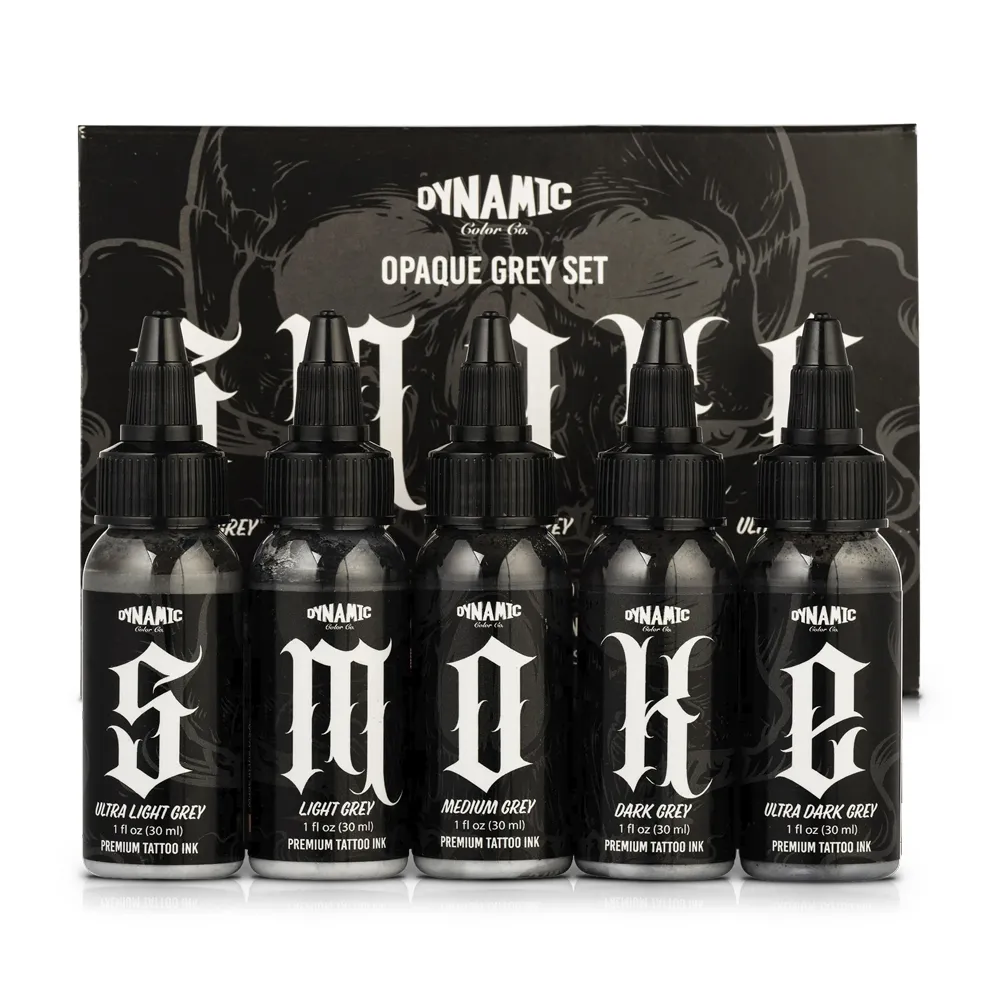 For opaque-gray palette choices
Dynamic Smoke Opaque Greys Set
An opaque gray set for artists evaluating a different gray palette from transparent-style graywash effects.
 For controlled shading drills
Tattoo Practice Skin 3mm A4
A synthetic A4 practice surface for comparing swept fades, pepper density, round-liner dots, and changes to machine speed.
Shop Kwadron Cartridges Shop Bishop Da Vinci V2 Shop Nexus Shop Greywash Sets Shop Practice Skin
For choosing a black-and-gray palette, also read SVT Shop's black-and-gray ink, greywash, and opaque gray guide and our black tattoo ink guide.
BUY FOR THE LOOK
What should you check before buying needles for pepper shading or dotwork?
Choose the grouping for the mark and area, then evaluate it with your machine. Peak recommends considering needle geometry alongside graywash, hand speed, stretch, angle, and working depth.
- Texture: Airy fade, open pepper, or separate geometric dots?
- Grouping: RL for fine dots, RS for tight shading, mags for broader sweeps.
- Geometry: Compare straight versus curved edge, and standard versus bugpin and taper.
- Settings: Use your machine's approved range and compare one variable on practice skin.
- Ink: Keep graywash choice consistent while comparing needle movement.
SVT Shop serves tattoo artists, apprentices, and studios in El Paso, TX, with Next Day Delivery available in El Paso.
FAQ
12 common questions about whip shading, pepper shading, and stippling
These answers bring together tattoo education from Tattooing101 and manufacturer guidance from FK Irons, Peak Needles, and Kwadron. The technique names are useful descriptions, but needle choice and hand movement determine the actual marks.
1. What is whip shading in tattooing?
Whip shading is a sweep that gradually lifts the needle, leaving a darker beginning and a lighter, sometimes peppered trail. Tattooing101 and Peak Needles describe this movement.
2. What is pepper shading in a tattoo?
Pepper shading emphasizes scattered dots and visible negative space. FK Irons links this texture to whip shading; the two names often describe overlapping work.
3. Is whip shading the same as pepper shading?
Often, yes. Whip describes the movement; pepper describes the grainy result. Ask the artist whether the reference shows a soft fade or obvious speckles.
4. What needle is used for whip shading?
Peak recommends mags and curved mags for broader fades; Kwadron describes round shaders for smaller areas. Specialty stipple mags can create more defined dots.
5. What voltage should I use for whip shading, including 3RL whip shading?
FK lists shading ranges of 6–8.5 V and approximately 5.5–8 V in different guides. Start with your own machine's recommendations and test spacing; there is no single 3RL number.
6. What is stippling in tattooing?
Stippling builds tone from separated dots. Tattooing101 demonstrates an RL with a whip-like movement and a hand-to-machine-speed balance that creates individual deposits.
7. Pepper shading vs stippling: which is better?
Choose by the effect. Pepper gives a grainy fade; stippling places the individual dots at the center of the design. Match grouping and scale to the reference.
8. How is dotwork different from stippling?
Stippling is a dot-based shading method; dotwork can describe a larger style or pattern built from dots. Both can use recognizable separate marks.
9. Does stippling or dotwork hurt more than regular shading?
Select the technique by appearance rather than a predicted pain ranking. Discuss placement, design, and comfort expectations with the tattoo artist.
10. How does whip shading look once healed?
A whip is intended to leave a gradual fade, sometimes with visible grain. Research describes pigment change over time; compare the artist's healed examples rather than a fresh photo alone.
11. Can you whip shade with a round liner?
Yes. Tattooing101 teaches a round-liner stipple approach using a whip-like motion. An RL concentrates the marks more than a broad magnum.
12. What mistakes ruin whip shading or cause patchy pepper texture?
Tattooing101 warns about wide circles, moving too fast, and incorrect mag contact. FK adds the risk of excessive entries when a fast machine meets a slow hand.
RESEARCH
Sources Consulted
Manufacturer guides support the needle and machine details; Tattooing101 explains the hand motion, and a peer-reviewed paper informs the healed-appearance discussion.
- FK Irons: How Machine Settings Affect Linework, Shading, and Color
- FK Irons: How to Master Tattoo Machine Voltage
- FK Irons: How to Switch Between Needle Groupings
- FK Irons: Match Machine Settings to Needle Groupings
- FK Irons: Machine Speed vs Hand Speed
- Peak Needles: Needle Configurations Explained
- Peak Needles: Needles for Black-and-Gray Shading
- Peak Needles: Bugpin vs Standard Needle Diameters
- Kwadron: Cartridge System from A to Z
- Kwadron: Whip Shading Cartridge Family
- Tattooing101: Tattoo Shading Techniques
- Beilstein Journal of Nanotechnology: Tattoo Ink Nanoparticles in Skin Tissue and Fibroblasts