


 Powered by Comercia.io
Black and grey realism tattoos build dimension through darks, greywashes and light values. Working artists choose curved-magnum needles, layered values, contrast and machine control. Kwadron describes soft-edge mags for transitions; StarBrite and Intenze describe different layer orders.
Browse Greywash Ink Sets Shop Tattoo Needles
QUICK ANSWER
How do you tattoo smooth black and grey realism?
Map the darks, midtones and highlights first. Use a planned greywash ladder, curved mags for broad gradients and shaders or liners for detail. StarBrite favors dark-to-light layering; Intenze describes light-to-dark. Test your approach before skin.
Needle Setup
Curved mags for broad, soft transitions; RS for confined shading; fine liners for selected detail.
Greywash Plan
Organize black, middle washes and light values before working. Test the transition, not just individual ink caps.
Contrast & Care
Keep shadows and highlights distinct, use restraint with white and discuss sun-related fading.
STYLE & HISTORY
What is black and grey realism tattooing, and where did the style come from?
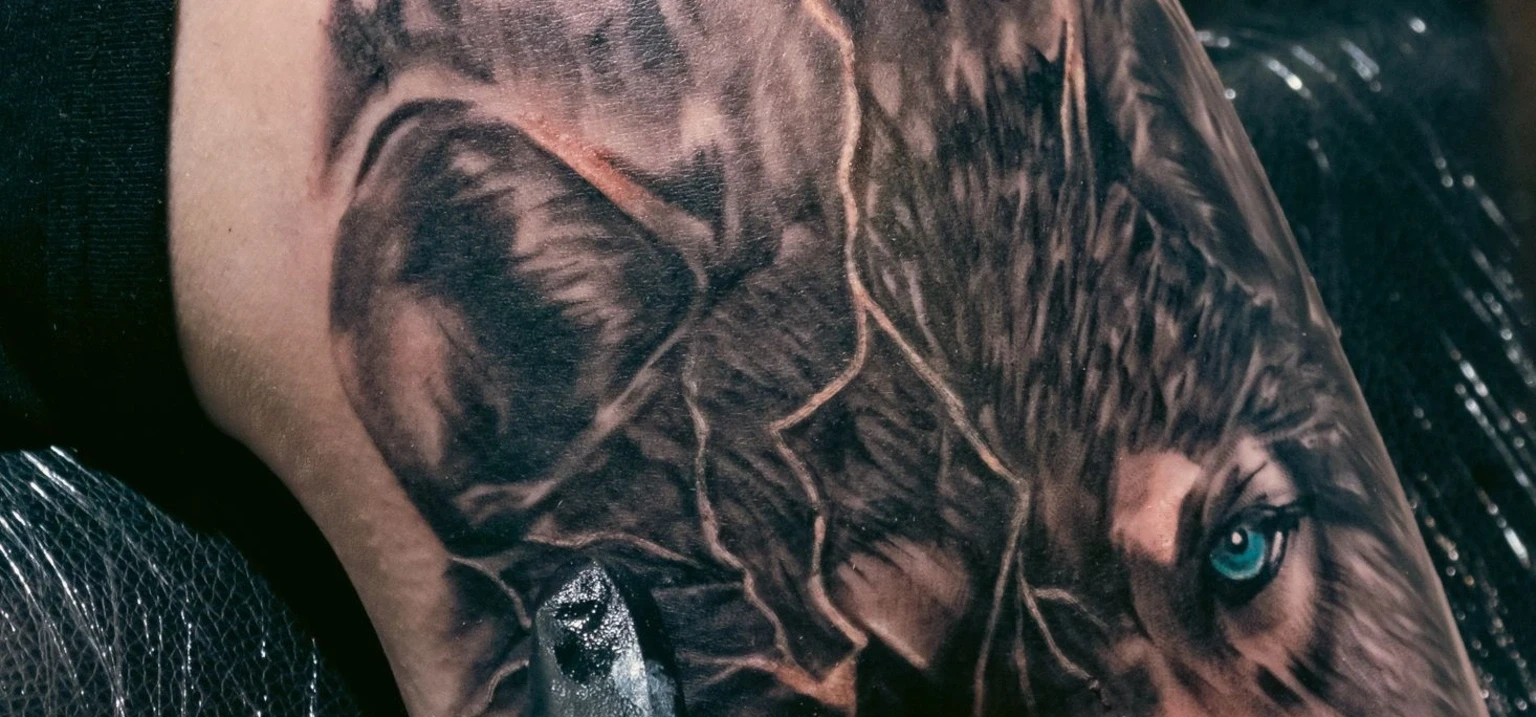
Black and grey realism creates dimension with dark, middle and light values rather than a full-color palette. StarBrite describes a black ink that dilutes predictably across those values as central to this style. The practical work is to preserve soft transitions and deliberate contrast while keeping the subject recognizable.
NPR traces major roots of black-and-gray tattooing to Chicano artists and prison tattoo culture, where diluted black ink produced gray shading without color ink. NPR also notes its fine lines and subtle shading.
VALUE STRUCTURE
How do you plan black, midtones, light washes and negative space before shading?
Before opening ink caps, identify the deepest shadow, linking midtones, light washes and areas to leave open. Intenze describes a ladder from solid black through lighter washes to shading solution; StarBrite stresses that contrast gives realism clarity. Use a value study to decide which details need emphasis rather than shading every area alike.
Before the first shading pass, identify
- The darkest anchor that establishes depth
- The midtone regions that connect shadows to open skin
- The areas that need the lightest washes or untouched-skin highlights
- The focal features needing precise contours or texture
- The background values that must stay separate from the subject
Keep the focal subject distinct from its background. Extra shading cannot replace an unclear value plan.
NEEDLES, INK & TECHNIQUE
Which needles, greywash values and techniques fit each part of a black and grey design?
Kwadron describes curved mags for tonal fades, magnums for larger fills, round shaders for shading and round liners for contours. StarBrite supplies additional examples for differently sized areas. Choose by the role of each mark.
| Design zone | Needle configuration | Ink or value | Technique / visual check |
|---|---|---|---|
| Deep shadows | Curved magnum for the area; straight magnum for an appropriate broad fill | Solid black or a planned darkest gray | Establish a deliberate dark anchor without making every nearby midtone equally heavy |
| Midtones | Curved / soft-edge magnum; round shader for tighter areas | Selected middle greywash | Connect deep shadows to light areas with visibly distinct value steps |
| Soft transitions | Curved magnum; small RS where space is confined | Neighboring washes within the value plan | Use the gradual overlapping transitions described by StarBrite |
| Fine detail and texture | Round liner; 01RL or bugpin as StarBrite examples | Dark or middle value chosen for the feature | Preserve fine marks without crowding them or overworking their surroundings |
| Highlights: clean skin or white | Leave skin open; fine liner for a selected white accent | Untattooed skin or white ink where planned | Keep highlights distinct and avoid applying white over fresh black per StarBrite |
GROUPINGS & AREA SIZE
What needles do you use for black and grey realism shading and details?
StarBrite recommends curved mags for larger greywash fields, citing 07RM/09RM for medium passages and 11RM/13RM for larger ones. For tight areas it mentions 05RS/07RS, and for the finest details a 01RL or bugpin liner. These are StarBrite's examples, not required counts for a particular body area.
Kwadron describes the soft-edge mag as useful for subtle fades, a straight magnum for broad shading, RS for smaller areas and RL for contours. Assign the grouping to the design task before comparing numbers.
For specifications, read Tattoo Needle Guide and How to Choose Tattoo Cartridges.
PIN DIAMETER & CONTROL
How do bugpin, standard needle diameter and taper affect realism detail?
Peak compares standard #12 pins (0.35 mm) with bugpins such as #10 (0.30 mm) and #8 (0.25 mm). It discusses bugpins for smooth black-and-grey detail, but notes that thinner strokes expose hand wobble. Smaller diameter is a tool option, not an automatic improvement.
Read diameter alongside count, taper and grouping. Test fine texture in relation to the broader tonal field rather than treating each detail as an isolated line.
INK CAPS & VALUE LADDER
How do you use greywash and opaque gray inks in black and grey realism?
Intenze describes arranging caps from solid black down through successive washes to shading solution. StarBrite describes a five-value scale as a starting point for testing. Organize that ladder before the session so values remain identifiable.
We carry Dynamic, Empire Inks, Nocturnal by Bishop and Allegory greywash sets, plus Dynamic Smoke Opaque Greys. StarBrite says some realism artists prefer cool-to-neutral grays, while other black-and-grey work may lean warmer. Choose undertones and product type for the design.
For product differences use Greywash vs Opaque; for preparation follow How to Mix and Dilute Tattoo Ink and the maker's label. Also see How to Choose Black Tattoo Ink.
SOFT SHADING IN THE SKIN
How do you make smooth gradients without flat or muddy grey shading?
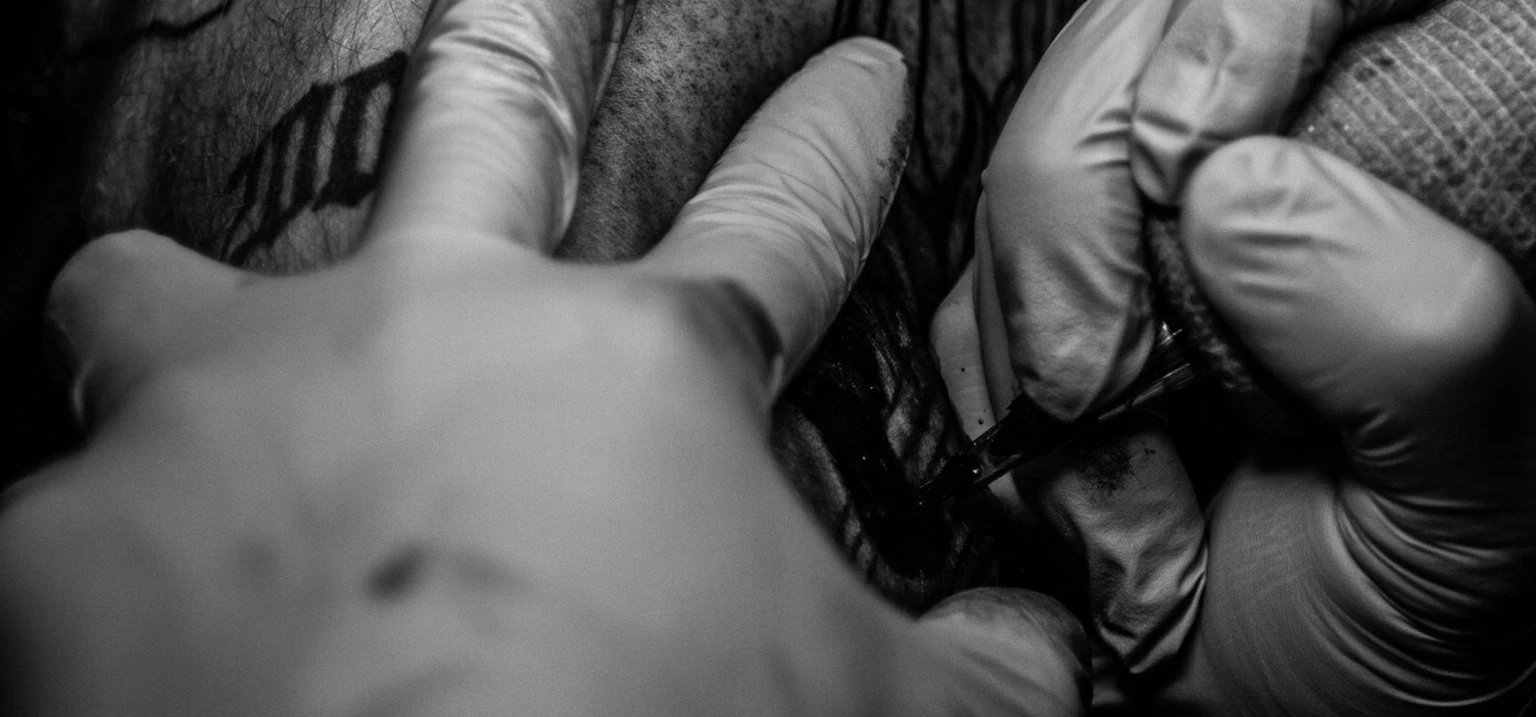
StarBrite describes overlapping adjacent washes back and forth through a transition zone instead of completing one rigid band at a time. It recommends a deliberate hand and lower voltage for washes than solid color. Kwadron describes curved mags for this type of fade.
Identify neighboring values
Mark where the shadow begins, where the midtone lives and where the lighter area should remain open.
Choose the grouping for the area
Compare a curved magnum for broad blending or round shader for a tighter transition, as described by StarBrite.
Test the transition on practice skin
Use the same value ladder and equipment intended for the composition to examine how adjacent values meet.
Build deliberately, not compulsively
Follow a tested layering approach and avoid piling on passes to force the final value immediately.
Read the whole gradient
Compare the shadow-to-light transition to the drawing; decide whether it already communicates form.
For the separate shading-motion breakdown, see Whip vs Pepper vs Stippling.
ORDER OF LAYERS
Do you shade a black and grey realism tattoo from dark to light or light to dark?
Manufacturer advice differs: StarBrite recommends dark-to-light layering, with light washes last and restrained; Intenze describes building from light to dark. Neither order is a universal requirement. Test the same value study with both approaches before a client session.
| Manufacturer approach | How it describes layering | Studio test |
|---|---|---|
| StarBrite | Dark to light; use the lightest washes last with restraint | Check whether the dark anchor and lighter transitions remain differentiated |
| Intenze | Build values in layers from light to dark | Check whether progressively stronger values preserve a smooth midtone path |
Use Tattoo Practice Supplies to compare transitions while holding the needle and value ladder consistent.
STROKE, VOLTAGE & HAND MOVEMENT
What stroke length, voltage and hand speed work for greywash realism?
Peak describes 1.8–2.5 mm short strokes as a general setup for soft shading and smooth blends and says shading typically uses lower voltage. StarBrite also recommends slightly lower voltage for washes than solid color and a slower, deliberate hand. These are manufacturer references, not numeric voltage presets.
Follow the exact machine's instructions and match its behavior to a curved-mag blend versus a liner detail. See Tattoo Machine Stroke, Needle Depth and Voltage for the full settings discussion.
MACHINE FORM FACTOR
Is a rotary pen, wireless machine or coil machine better for black and grey realism?
Choose the format you can control best with the grouping you plan to run. Kwadron makes curved-mag bar needles for compatible coil setups as well as cartridges for pen machines.
Compare the machines separately in Pen vs Coil Machines and Wireless Tattoo Pens Compared.
DARKS, MIDTONES & OPEN SKIN
How do you keep contrast strong without muddying a black and grey realism tattoo?
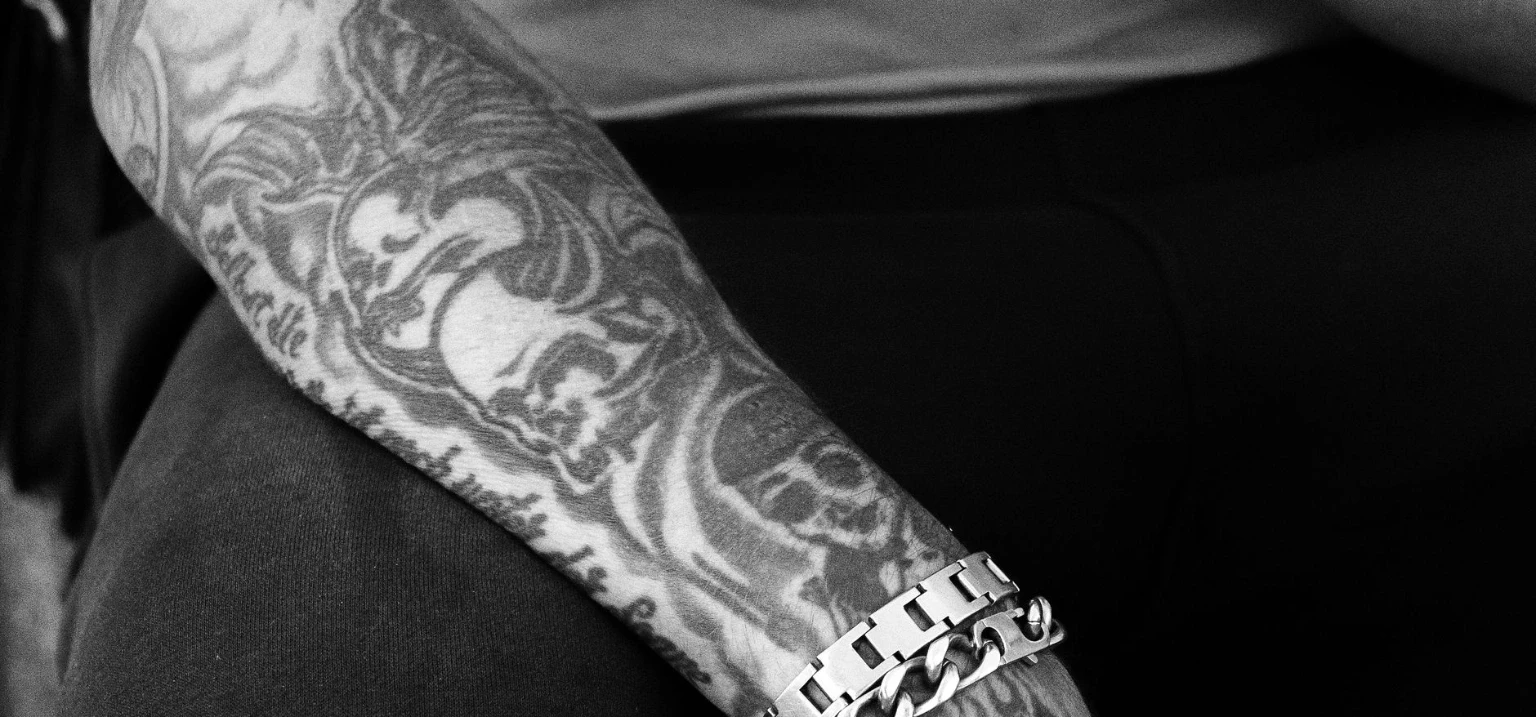
StarBrite says contrast keeps monochrome realism clear and that weak contrast can look muddy or flat when healed. Identify the intended darkest anchor and open highlights before layering midtones. Intenze cautions that overworking can contribute to blur.
Contrast review for a realism composition
- Does the darkest area have a clear purpose?
- Can you distinguish important midtones from neighboring shadows?
- Are selected highlights still visible in the overall layout?
- Does the background support, rather than swallow, the focal subject?
- Have small details been reserved for places where they improve recognition?
If the subject and background merge, revisit the value study rather than automatically adding more passes.
WHITE INK & HIGHLIGHTS
Should you use white ink or untouched skin for highlights in black and grey realism?
Plan clean-skin highlights and any selected white ink accents before shading. StarBrite warns that white over fresh black can create muddy tones or uneven healing, so do not use it as an automatic repair for a lost highlight.
Allegory White Ink is included below; follow its label and see Best White Tattoo Ink.
HEALED WASHES & SUN CARE
How do black and grey realism tattoos heal, fade and settle over time?
StarBrite says very light washes can become nearly invisible after healing and describes artists planning midtones a little darker. It suggests evaluating the result after six to eight weeks—its review suggestion, not a universal deadline.
AAD says UV can fade some inks and recommends broad-spectrum, water-resistant SPF 30+ sunscreen; tanning beds may also fade ink. Intenze discusses cold blue-green drift in connection with inconsistent pigment particle size as a maker claim, not an inevitable outcome of black ink.
For client care, use Tattoo Aftercare Day by Day.
PRACTICE & SESSION SEQUENCE
How do you practice black and grey realism step by step before a client session?
Practice the full value relationship, not only a dark patch or isolated shading mark. This studio sequence applies the maker's grouping and layering ideas without prescribing one order.
Make a reference value map
Mark the intended black anchor, midtones, light washes and open skin in the reference.
Choose a consistent tonal system
Set out the planned black and descending gray values using the manufacturer's product directions.
Assign needles by field size
Compare curved mags for broad passages, RS for smaller shading and liners for precise marks, as StarBrite discusses.
Test both layering approaches
Compare StarBrite's dark-to-light and Intenze's light-to-dark sequences on practice skin.
Review the transition and contrast
Judge how adjacent washes meet, whether the darkest areas remain strong and whether highlights stay clear.
Record and refine the setup
Note the needle variants, ink system, chosen order and machine behavior that produced the most controlled sample.
Include at least one broad transition, tight shadow and highlight decision in your practice study.
COMMON REALISM ERRORS
What mistakes make black and grey realism look flat, patchy or overworked?
Most common errors come from losing the planned value structure, forcing additional passes or treating one grouping as universal. Review the specific task before working.
Starting without a value ladder
Intenze describes caps from solid black to light wash. An inconsistent plan makes neighboring midtones harder to compare.
Using a fine liner for a broad tonal field
StarBrite discusses curved mags for broad greywash passages and RS or liners for tighter tasks.
Making every area a middle gray
StarBrite says contrast matters to clarity; reserve distinct darks and lights in the drawing.
Forcing one mandatory layer order
StarBrite teaches dark to light and Intenze light to dark. Test each on practice skin.
Overworking to force an immediate appearance
Intenze warns that pooled ink from overworking contributes to blur as tattoos age.
Applying white over fresh black
StarBrite warns that this may create muddy tones or uneven healing.
Assigning one voltage to every realism tattoo
Peak and StarBrite discuss lower shading voltage than color work, not a universal numerical setting.
Judging a light wash only while fresh
StarBrite cautions that lightest washes can become faint after healing and suggests a later review.
SVT SHOP REALISM SUPPLIES
Which curved mags, greywash sets, opaque grays and white ink can you shop at SVT Shop?
Choose products according to their role in the design, rather than buying the largest collection of inks or needle sizes. The twelve SVT Shop listings below cover curved-mag cartridges, traditional curved-mag bar needles, straight magnums, liners, greywash and opaque-gray sets, plus white ink. Check the precise variant and its manufacturer's instructions when assembling your working kit.
 Soft-Edge Shading
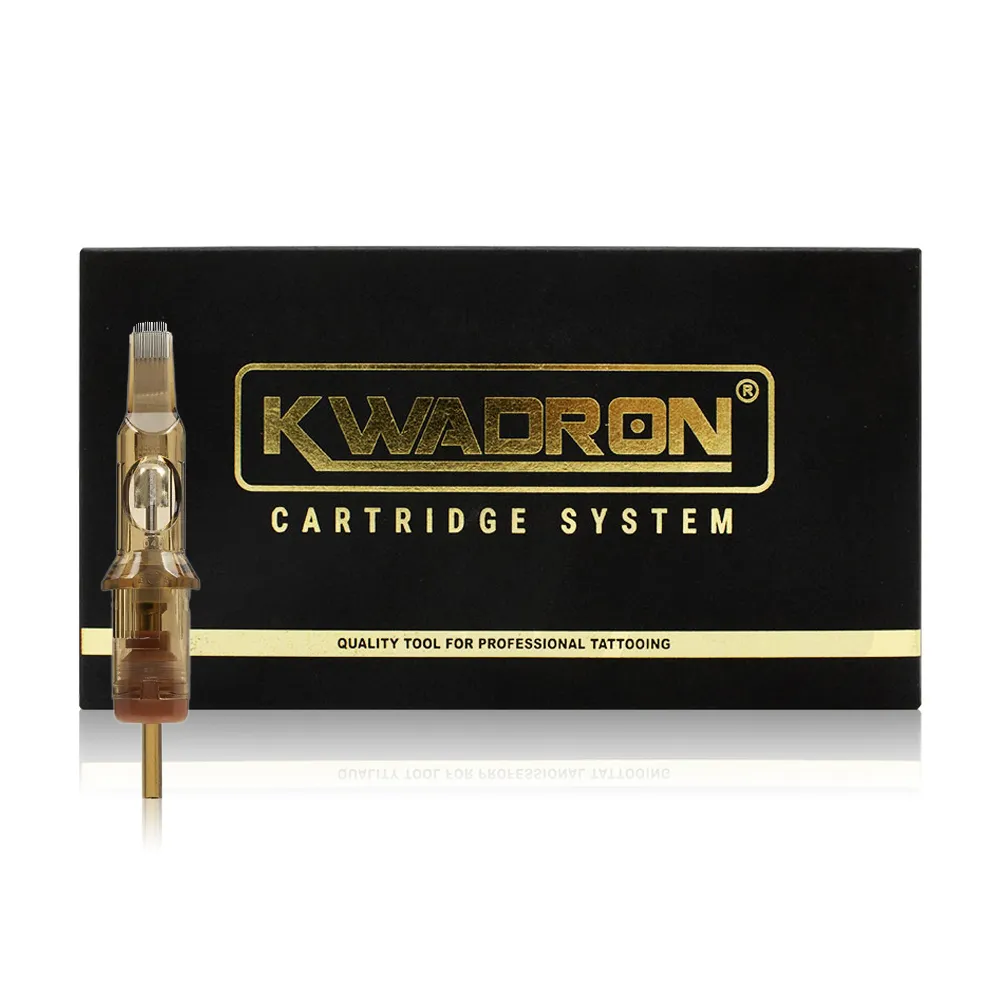
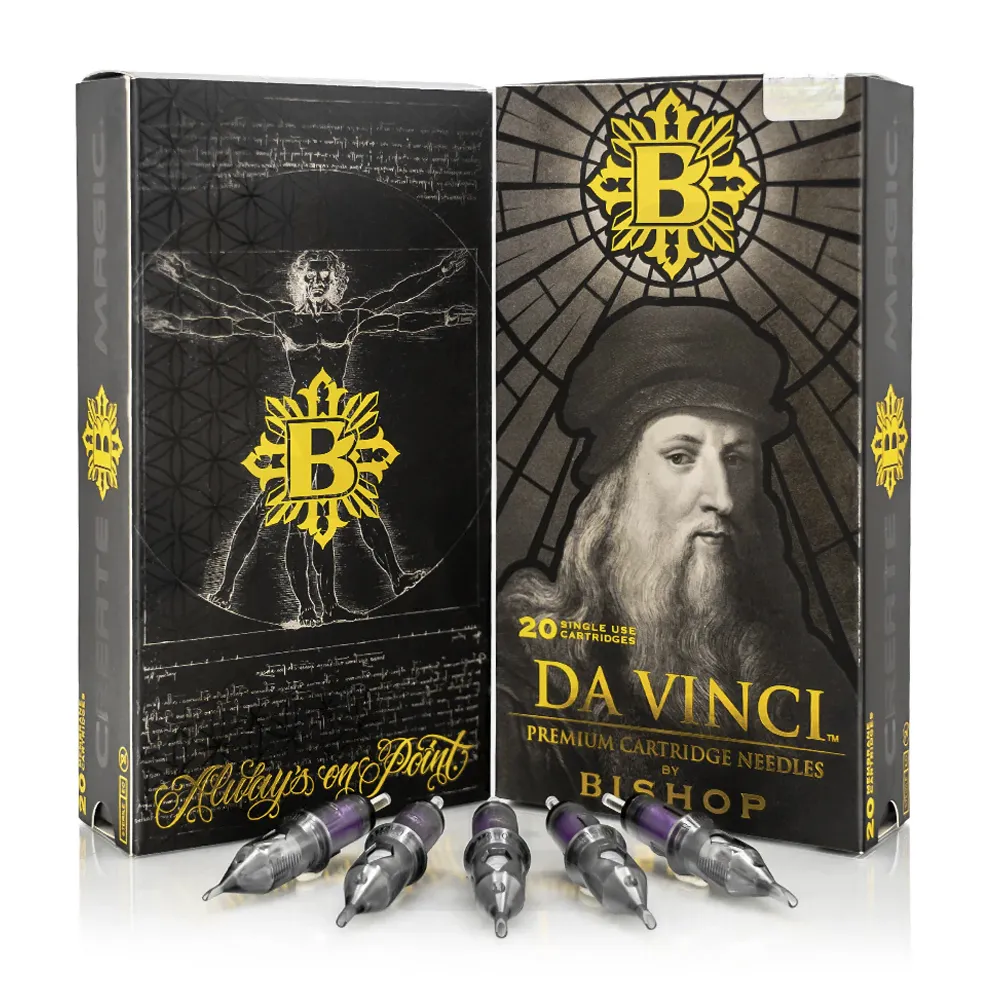
Kwadron - Cartridges Curved Mags
Curved mags for the soft tonal transitions Kwadron describes.
 Broad Greywash Transitions
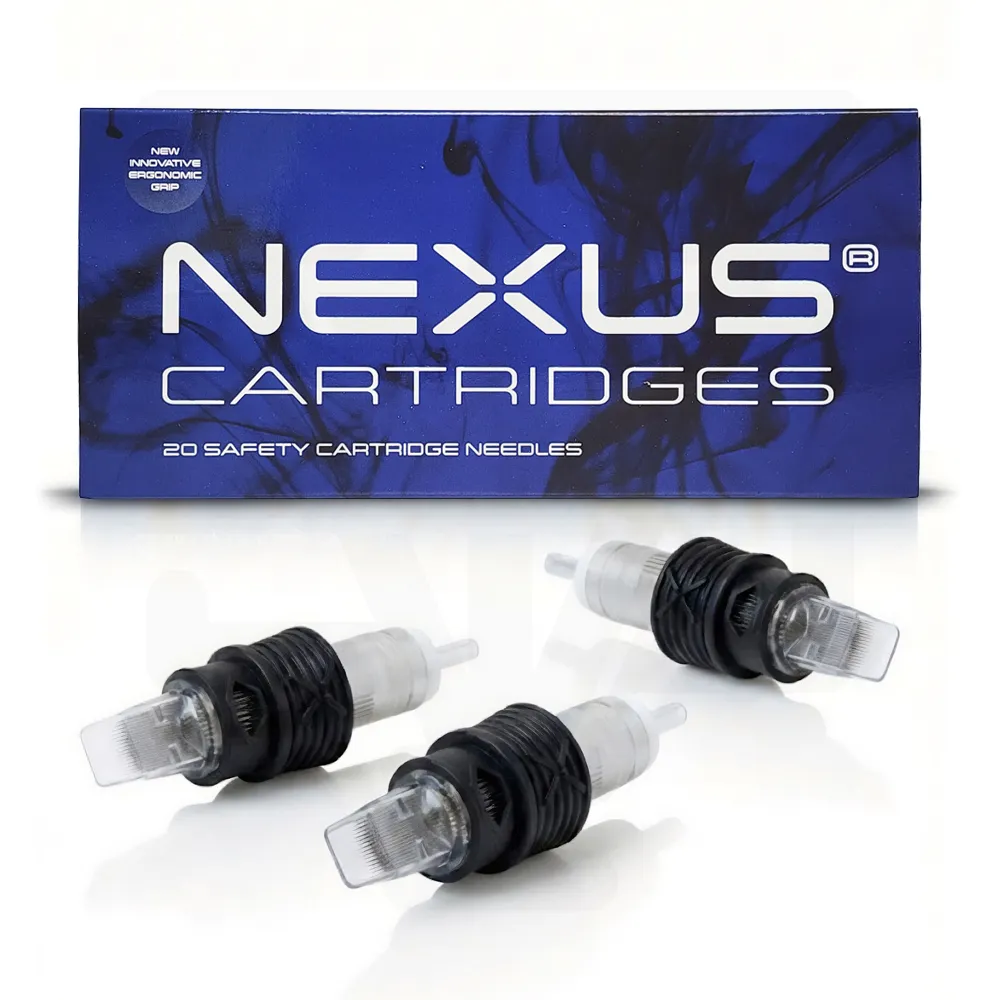
Bishop - Da Vinci V2 Curved Mags
Curved-mag option for broad gray shading.
 Alternative Curved Magnum
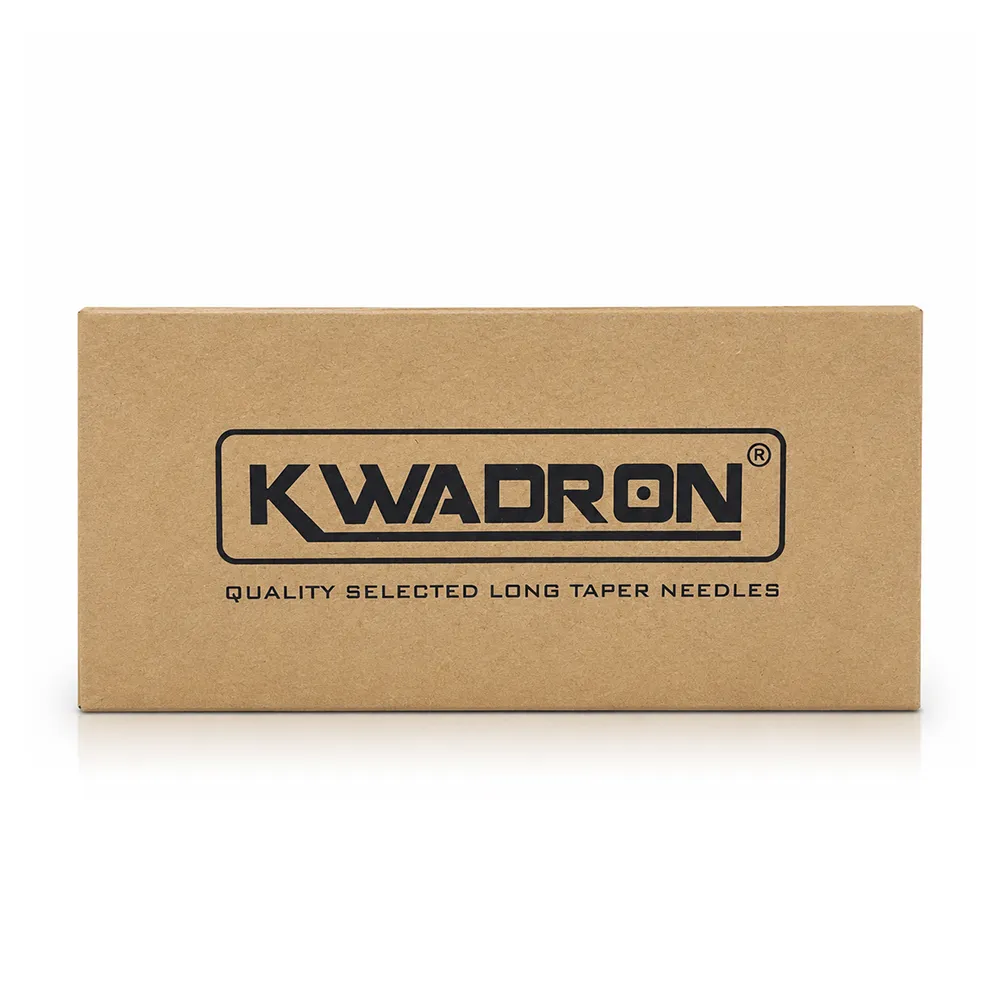
Nexus Cartridges - Curved Mags
Alternate curved mags for gradual shading fields.
 Traditional Bar-Needle Setup
Kwadron - Bar Needles Curved Mags
Curved-mag bar needles for compatible traditional machines.
 Large Fill Areas
Kwadron - Cartridges Magnums
Magnums to compare for larger filled areas.
 Precise Realism Details
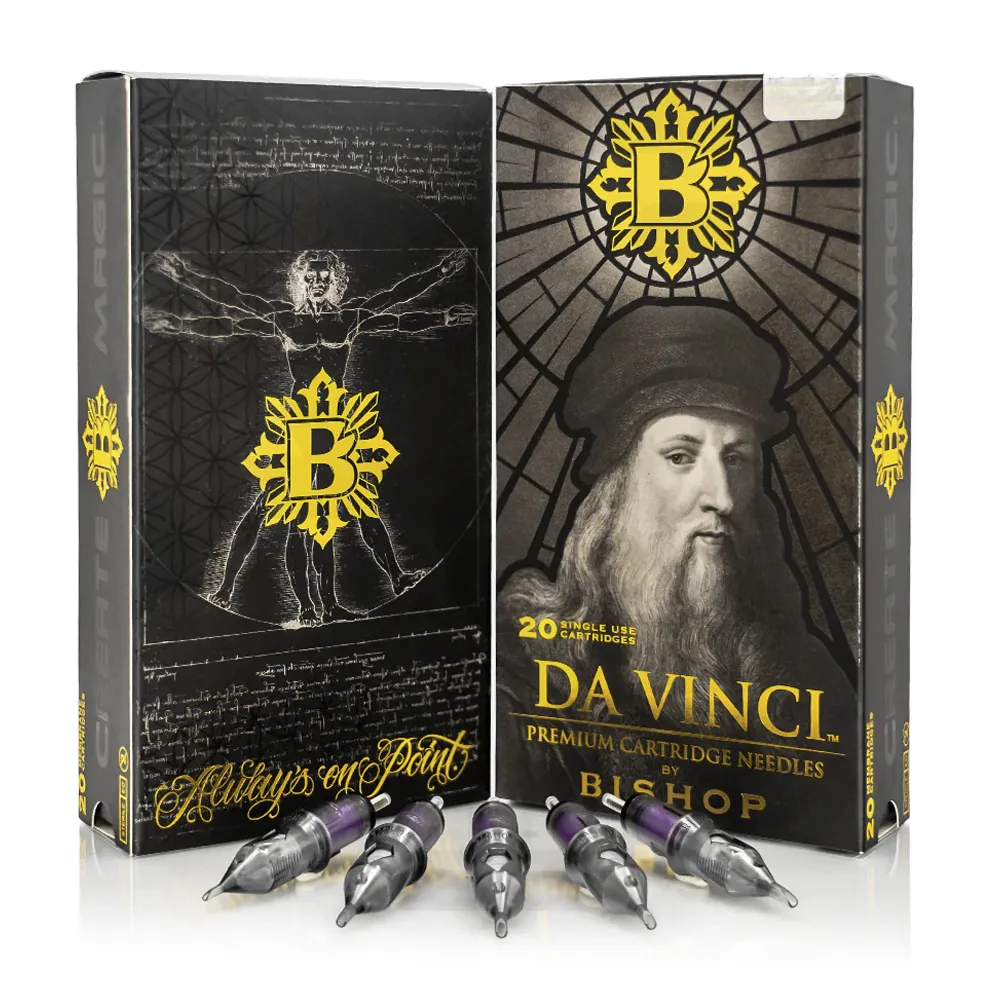
Bishop - Da Vinci V2 Liners
Liners to evaluate for selected fine details.
 Premixed Greywash Ladder
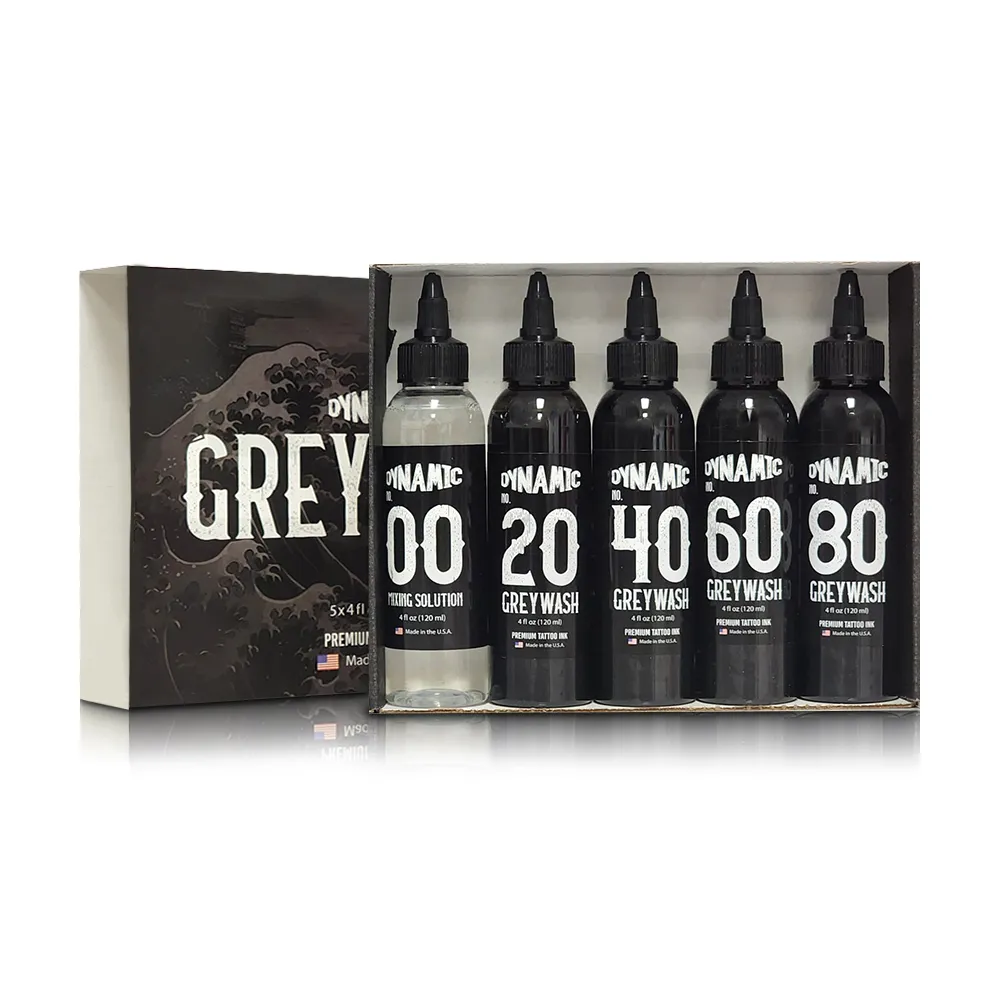
Dynamic - Greywash Set
Greywash set for a planned range of values.
 Opaque Gray Palette
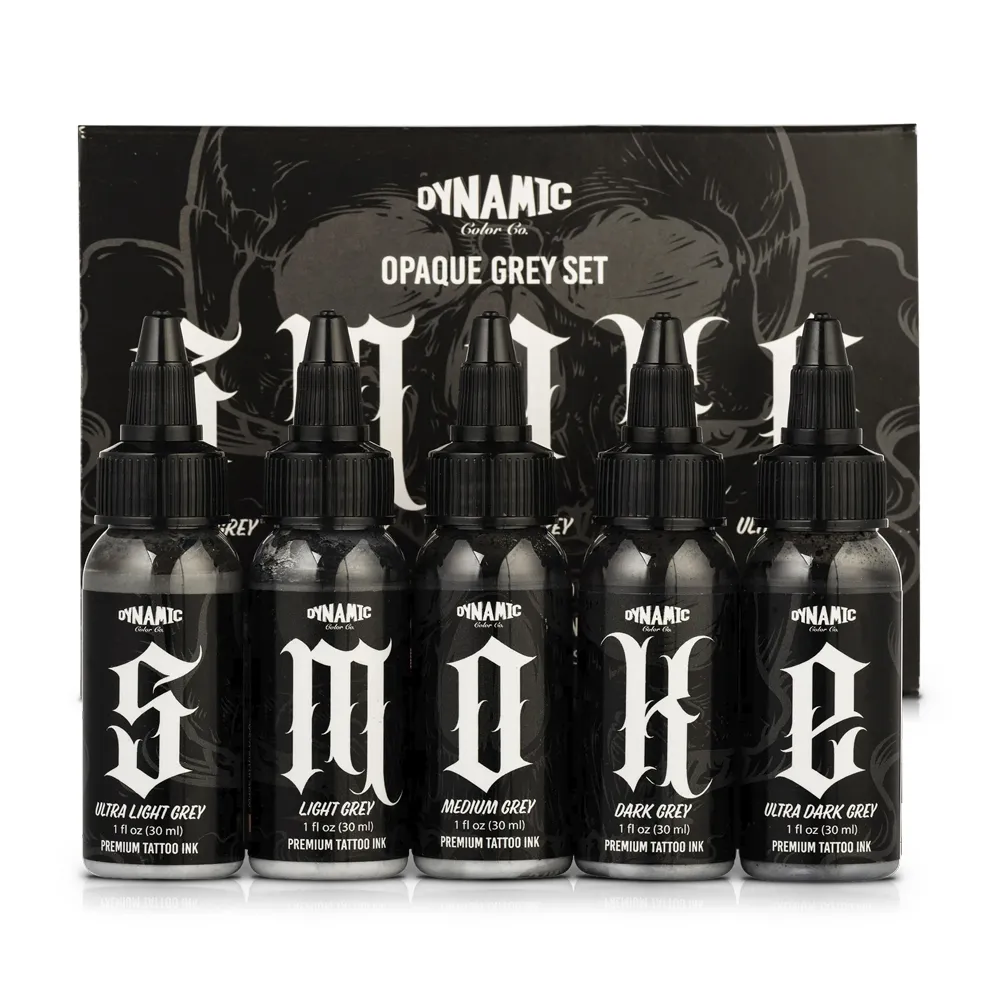
Dynamic - Smoke Opaque Greys Set
Opaque grays to compare with a greywash palette.
 Four-Stage Wash Option
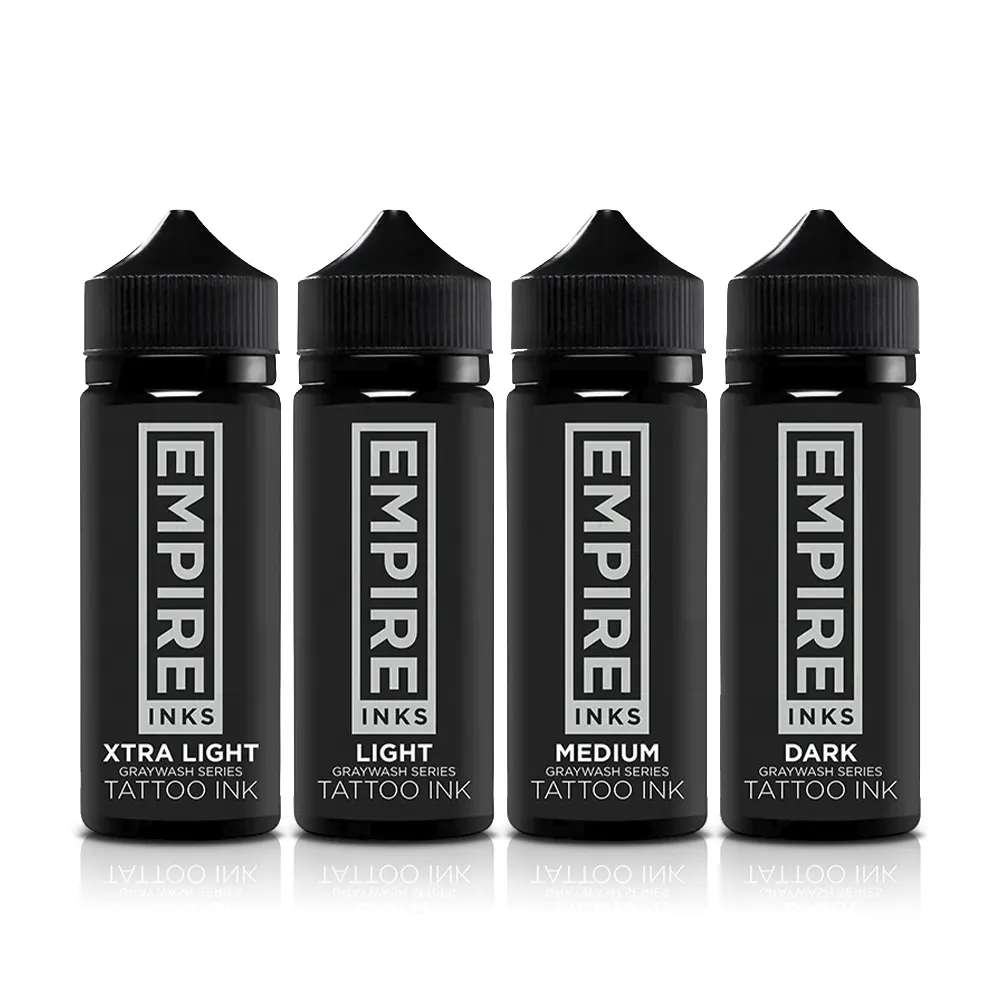
Empire Inks - Graywash Set
Four-stage graywash set for tonal planning.
 Alternate Greywash Set
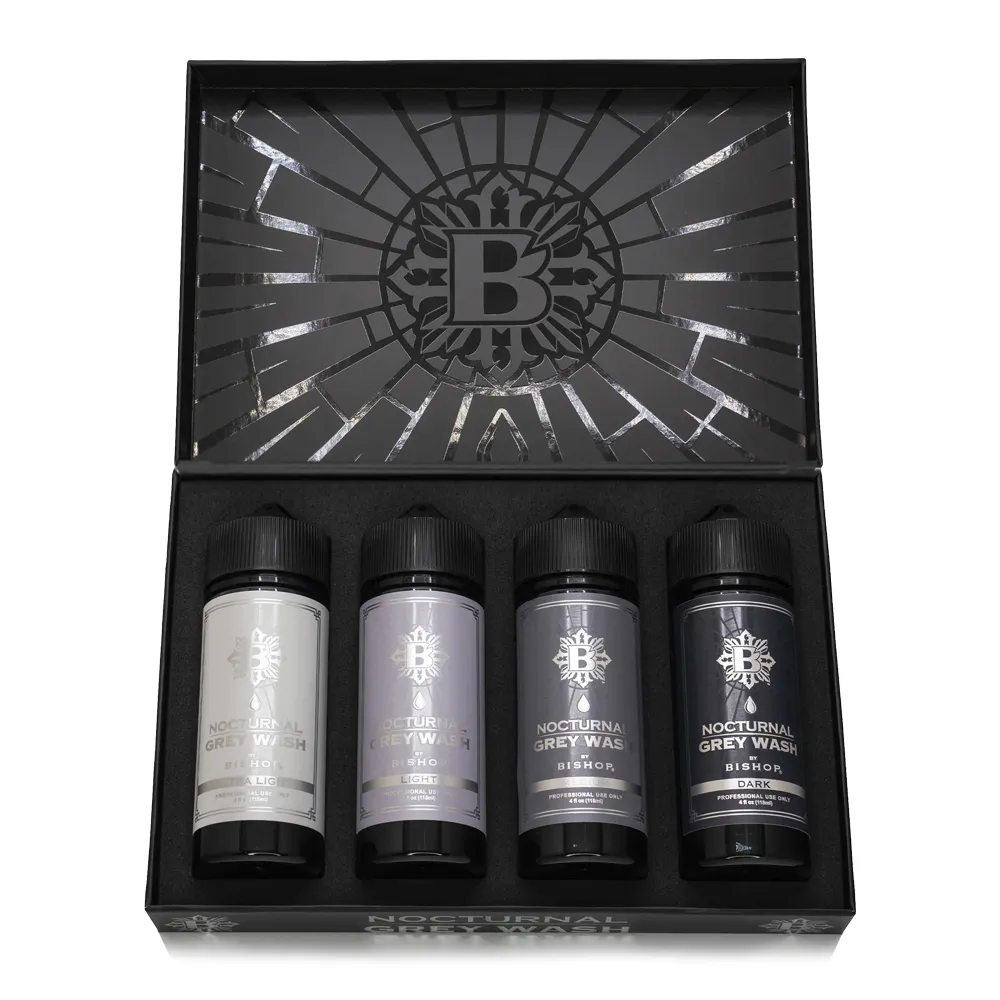
Nocturnal by Bishop - Ultimate Grey Wash Set 4 oz
Premixed graywash option; review the maker's value range.
 Greywash Palette Choice
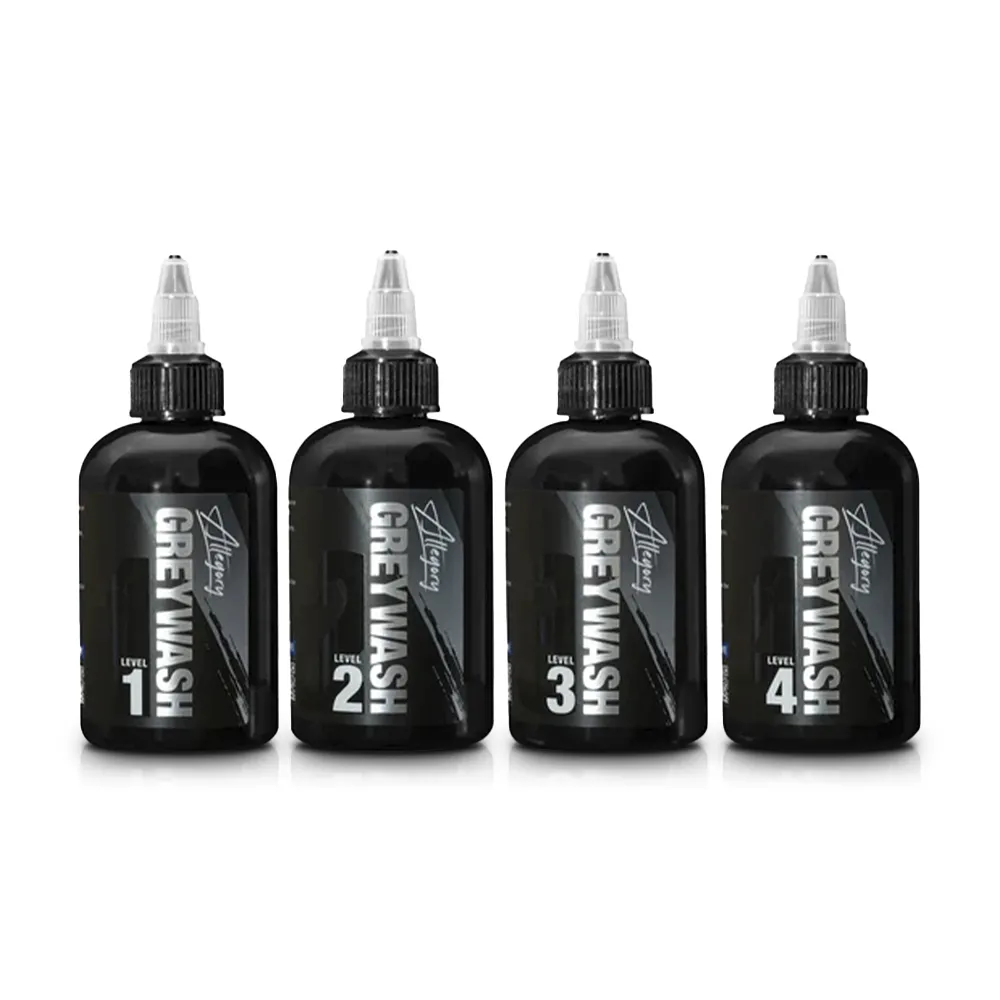
Allegory - Greywash Set
Additional greywash set for a consistent palette.
 Selected White Accents
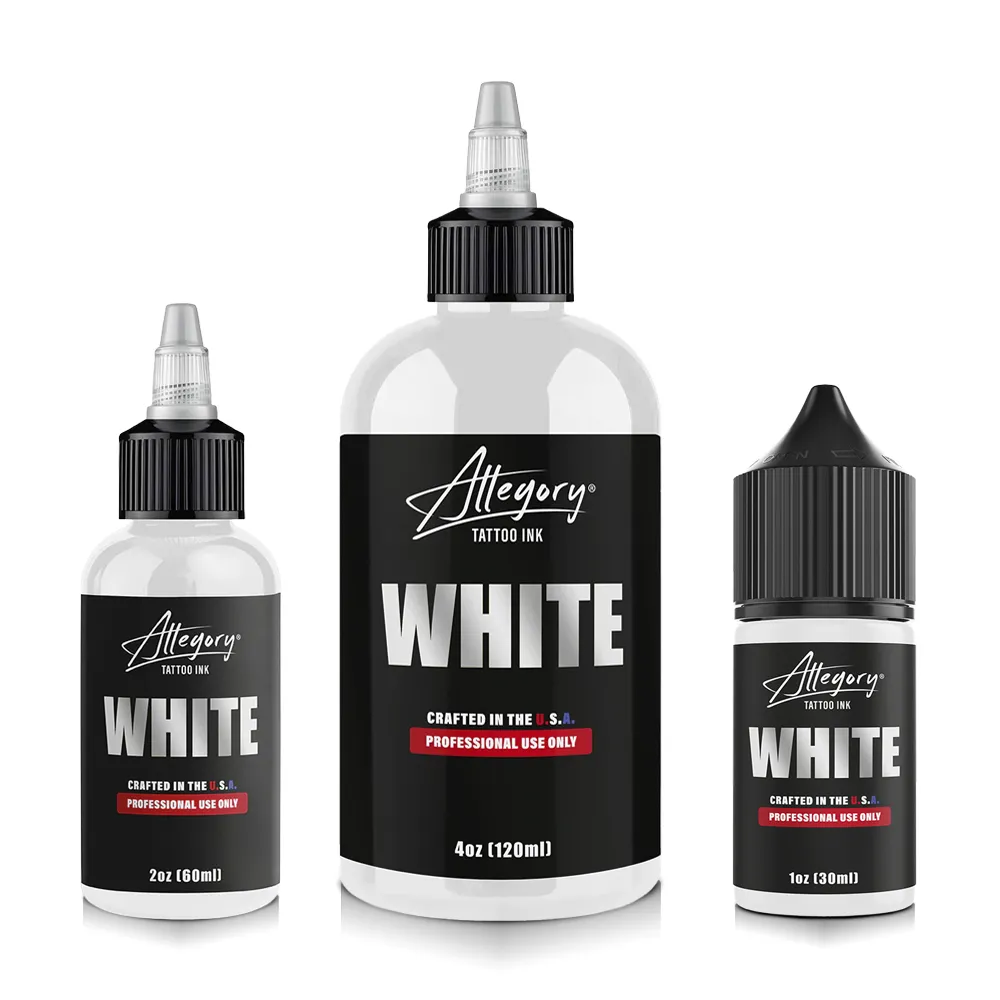
Allegory - White Ink
White for selected accents; avoid fresh-black layering per StarBrite.
Browse Kwadron Cartridges Shop Greywash Sets Browse White Tattoo Ink
A product named greywash, opaque gray or white has a distinct role in the plan. Keep each manufacturer's labels with your studio inventory so the same values and cartridge configurations can be selected consistently for future realism sessions.
STUDIO BUYING & SESSION CHECKLIST
What should an artist check before buying supplies for a black and grey realism tattoo?
Buy from the value design and check each maker's equipment and ink directions.
- Reference: Mark the darks, midtones and light areas.
- Value ladder: Choose a defined wash or opaque-gray palette.
- Needle configuration: Match mags, shaders or liners to the area.
- Pin specification: Check grouping, pin size and taper.
- Layer order: Test both named manufacturer layer orders.
- Machine: Follow the machine manual and Peak's general stroke context.
- Contrast: Protect darks, midtones and highlights.
- White ink: Plan white carefully; avoid fresh-black layering.
- Skin response: Avoid needless repeat passes.
- Healing review: Discuss StarBrite's review suggestion and AAD sun care.
FAQ
What do tattoo artists ask about black and grey realism needles, greywash and technique?
These answers focus on the technical questions artists ask when moving from basic shading to more controlled realism, including machine selection, layering, value clarity and healed appearance.
What is black and grey realism tattooing?
Realism uses controlled black, middle and light values. NPR traces important roots to Chicano tattoo culture and diluted black ink.
What needles do you use for black and grey realism?
StarBrite cites curved mags for broad areas, RS for tight zones and a 01RL or bugpin for fine details.
What is a curved magnum or soft-edge magnum used for?
Kwadron describes soft-edge mags for subtle transitions; StarBrite recommends curved mags for broader greywash blending.
How do you make smooth gradients in black and grey tattoos?
StarBrite describes overlapping neighboring washes through a transition rather than finishing separate gray bands.
Should you shade black and grey realism dark to light or light to dark?
StarBrite recommends dark to light; Intenze describes light to dark. Compare both on practice skin.
What voltage and stroke should you use for greywash shading?
Peak cites 1.8–2.5 mm as a soft-shading stroke category and usually lower shading voltage. Follow the machine manual.
How should you use white ink in black and grey realism?
Plan highlights. StarBrite warns that white over fresh black may cause muddy tones or uneven healing.
How do you avoid overworking skin while shading?
Build deliberately. Intenze warns that overworking can pool pigment and contribute to blur.
Do black and grey tattoos fade or turn blue or green with time?
AAD says UV can fade ink. Intenze relates possible cold blue-green drift to particle-size inconsistency as its own claim, not a universal outcome.
How long does black and grey realism take to heal and settle?
StarBrite suggests reviewing after six to eight weeks; lighter washes may look faint when healed. Refer concerning skin changes to a doctor.
Is a wireless pen or coil machine better for realism?
Choose the format you can control best with the grouping you plan to run; our pen vs coil and wireless pen guides compare them.
Which is better for realism: greywash or opaque gray ink?
These are different palette options. Choose by your design and the product directions; see SVT Shop's Greywash vs Opaque guide.
RESEARCH
Sources Consulted
NPR provides the brief historical context. Kwadron, StarBrite, Intenze and Peak supply the attributed manufacturer guidance for needle groupings, greywash layering and machine setup. The American Academy of Dermatology supplies the sun and fading guidance.
- NPR: Black and Gray and Brown — A Tattoo Style's Chicano Roots
- Kwadron: Needle Configuration Guide
- StarBrite: Tattoo Styles, Inks and Techniques
- StarBrite: Grey Wash Tattoo Ink Guide
- StarBrite: Contrast Between White and Black Tattoo Inks
- Intenze: Black and Grey Realism — 2026 Professional Guide
- Peak: Bugpin vs Standard Tattoo Needles
- Peak: Machine Setup for Lining, Shading and Color
- American Academy of Dermatology: Caring for Tattooed Skin